Groups are great for keeping your models organized. They allow you to easily move forms around without connecting the geometries.
- Open SketchUp
- Press spacebar to select the Select tool.
Click and drag a box around the entities you want in the group.
Release the mouse button when all of the elements are either partially included (left-to-right selection) or fully included (right-to-left selection) in the selection box.
- CTRL+click and select Make Group from the context menu. The geometry you selected appears grouped within a highlighted bounding box.
-
You can make group hierarchies by grouping other Group entities within a group. Additionally, you can mix your hierarchies by including components and groups within other components and groups.
- You can ungroup grouped entities by context-clicking on the group and then selecting Explode .
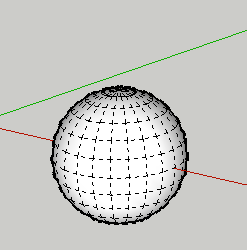
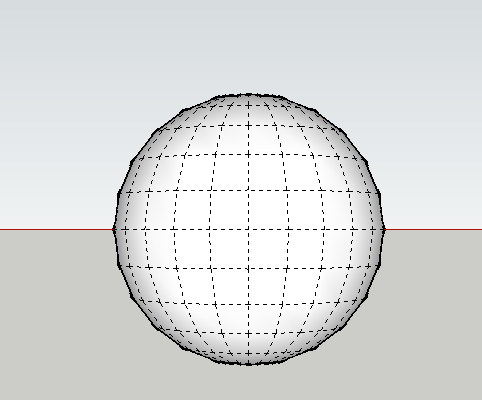
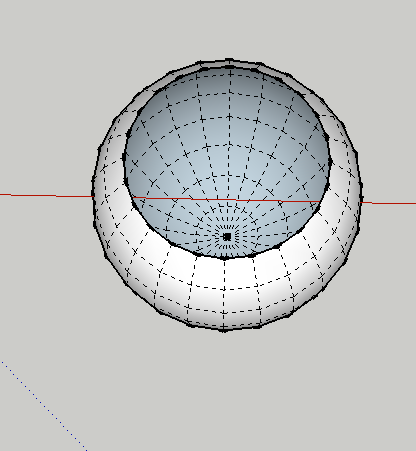
- Create a sphere:
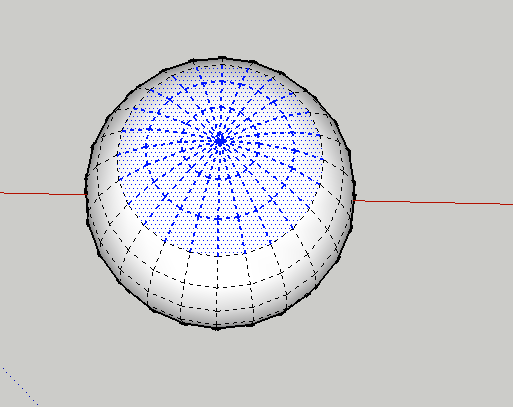
- Change the view to the Right (Command+3)
- With the Selection tool (spacebar) drag right to left to select the top three rings
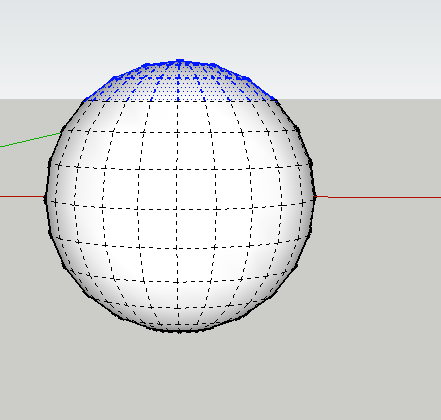
- Orbit to make sure your selection is complete:
- Delete the selection
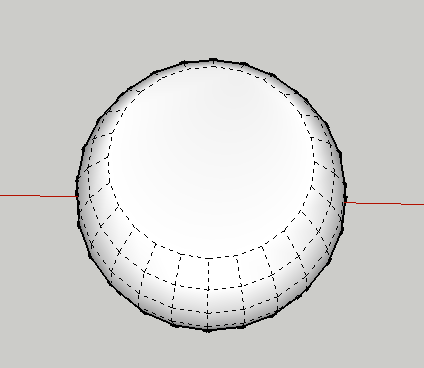
- Select the Line tool (L) and draw a line connecting endpoints

- Select the Eraser tool (E) and erase the line
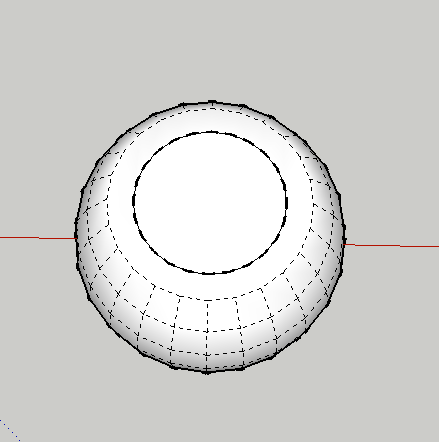
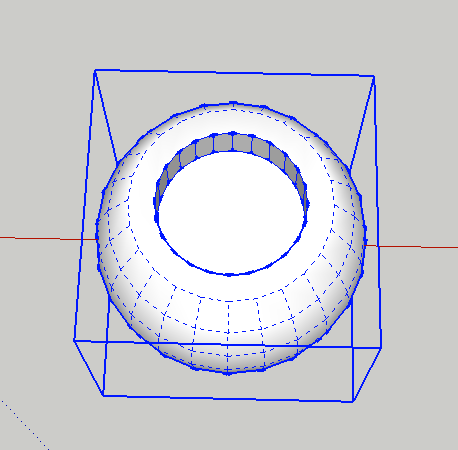
- Select the Offset tool (F) click on the outside ring and drag in:
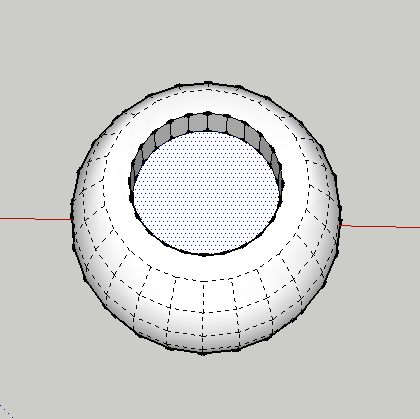
- Select the Push/Pull tool (P) push in:
- Make a copy of the selection.

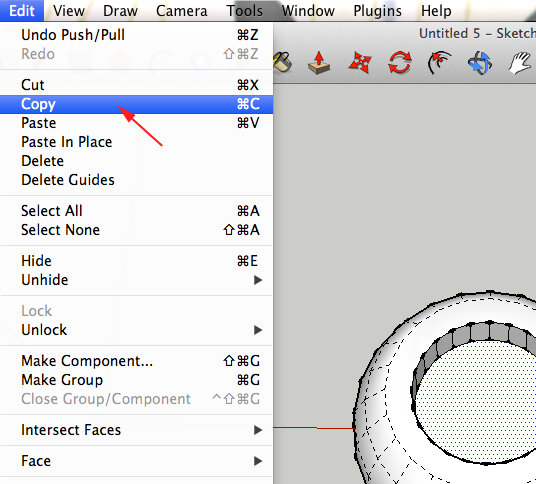
- Triple click on the sphere

- CTRL+click and select Make Group from the Context Menu
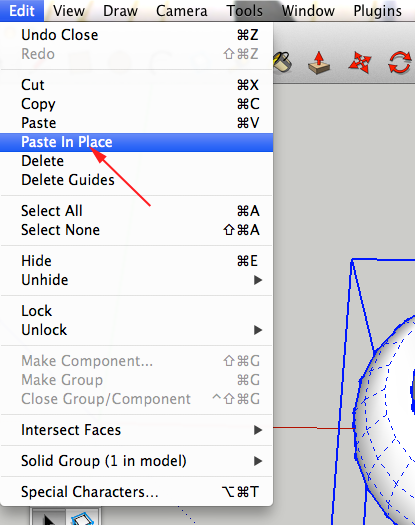
- Select File>Paste in Place
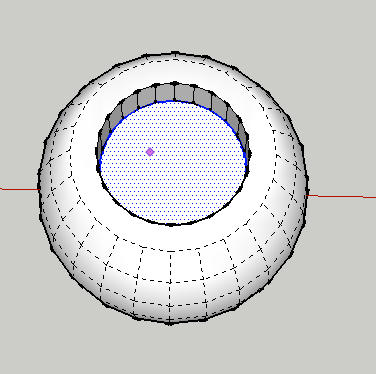
- Select the Move tool (M) and move the pasted circle away from the sphere
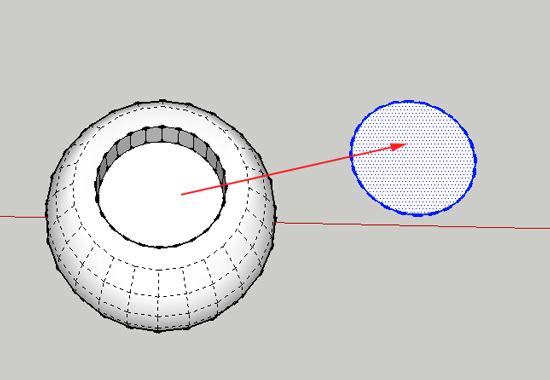
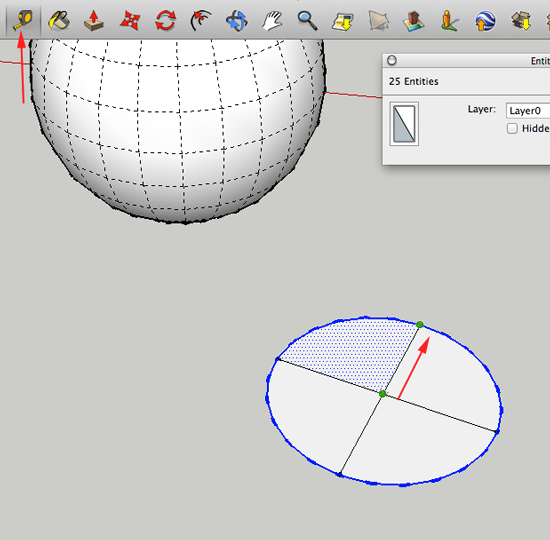
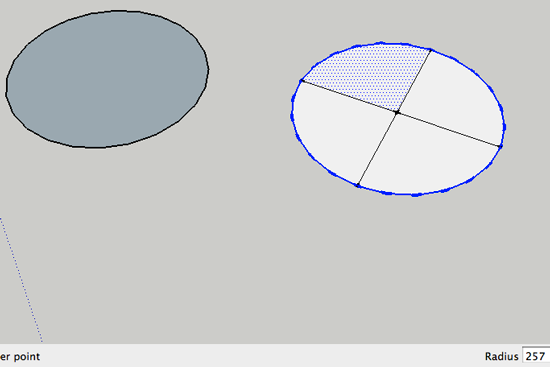
- Select the Line tool (L) and divide the circle into quarters

- Select the Tape Measure tool
 and drag from the center to and endpoint. Make a note of the value in the lower right side
- Select the Circle tool (C) and create a circle with the same radius as the pasted circle, but subtract a mm from it:
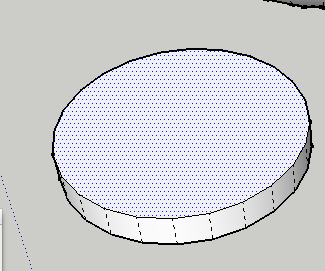
- Select the Push/Pull tool (P)and extrude the circle:
- Slice off the bottom of the sphere and print (this could be an eye. Print the disc, this could be a pupil.
Now what?
- Create a model with groups.
