Autodesk® 123D® Design is an application that runs in a Web-GL enabled web browser, an iPad and on a computer. It allows you to drag, drop and combine primitive shapes, and also has pre-defined models that can be combined together or with the primitive shapes.
PC Version Intro
- Download and install 123D Design
- Open the application
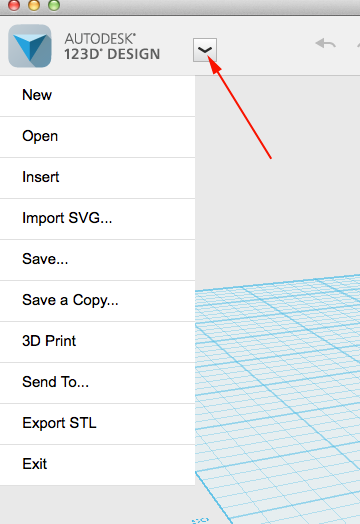
- In the upper left corner you will find the dropdown menu. Roll your cursor over the down arrow and select New to create a new document.
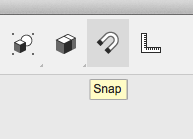
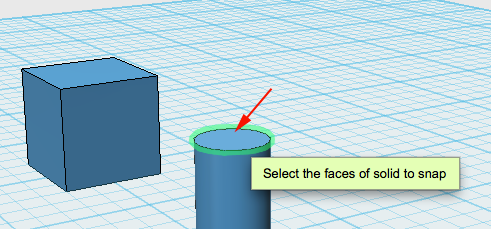
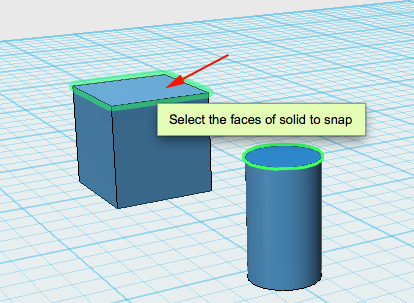
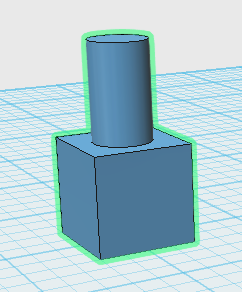
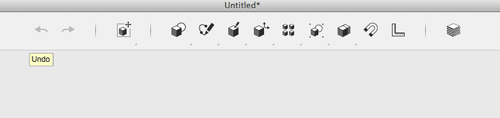
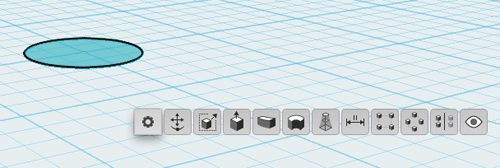
- Here are the tools to help you construct your models:
- Here are the navigation tools to help you move around:
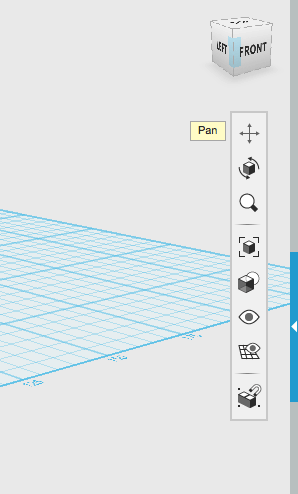
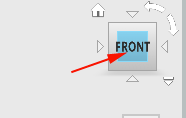
- You can also use the view cube to change the camera:
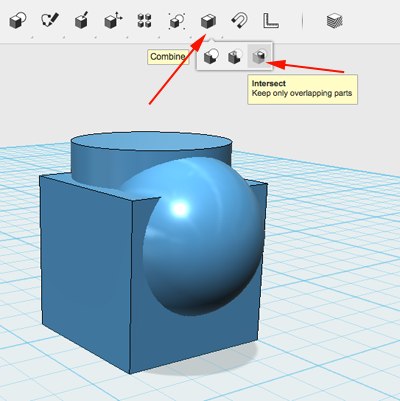
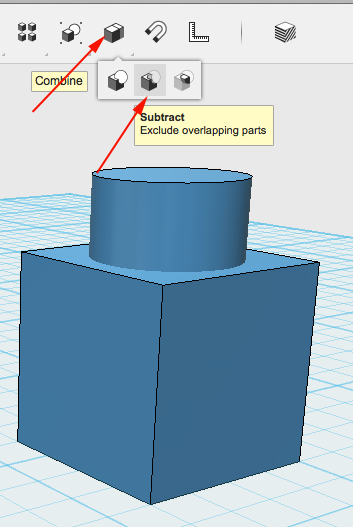
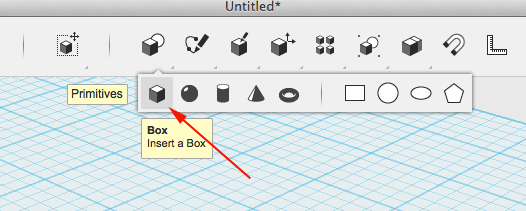
- Click on the kits arrow to browse pre-build parts:

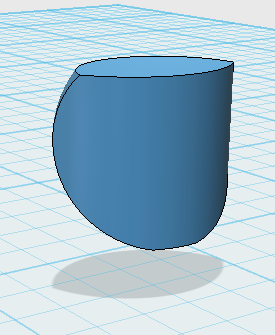
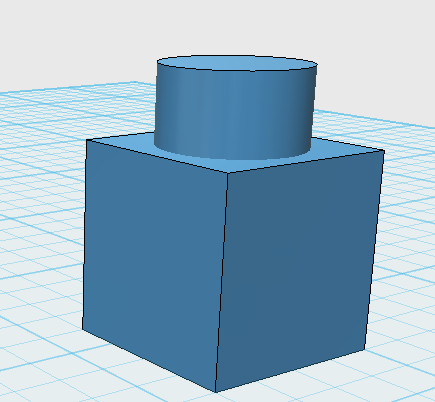
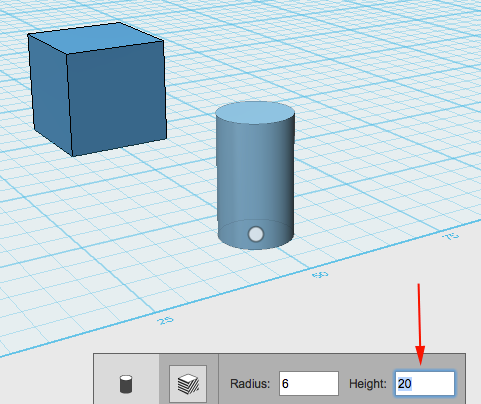
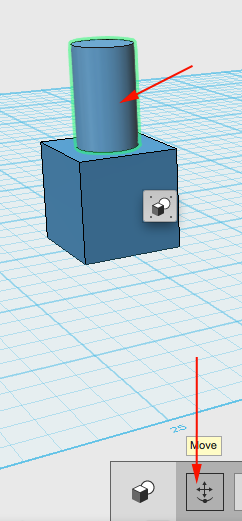
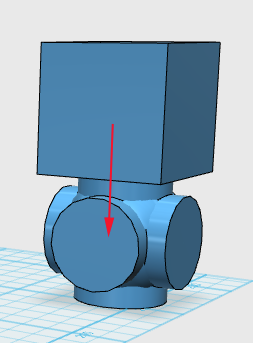
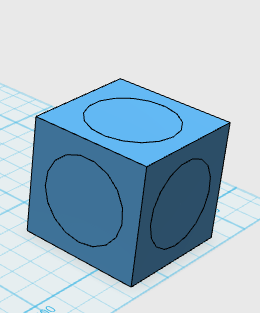
- Click on Primitives and select Box. Drag and drop the box on the grid. Adjust the dimensions
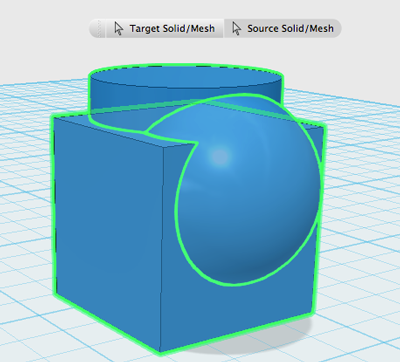
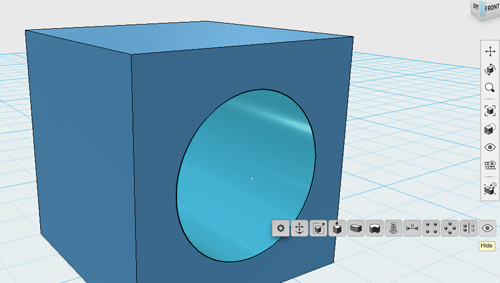
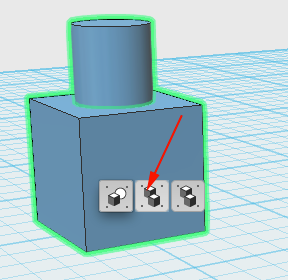
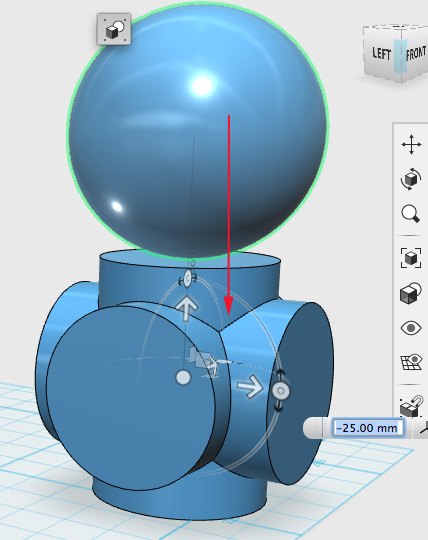
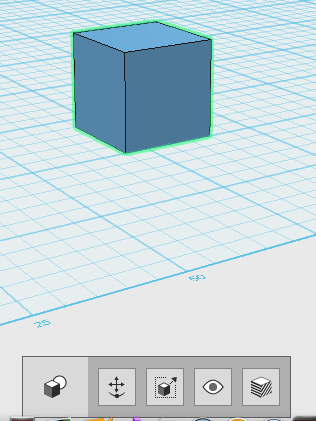
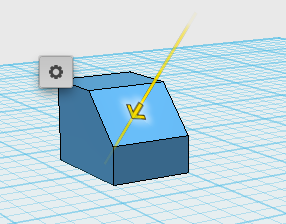
- You can modify (move, scale or hide) the entire form by clicking on the box and then clicking on the gear in the box:
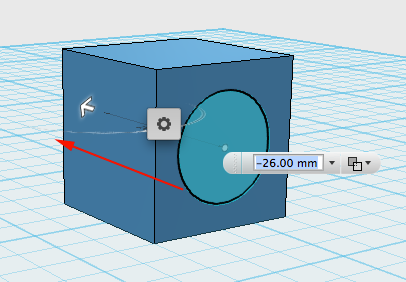
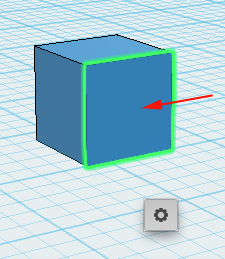
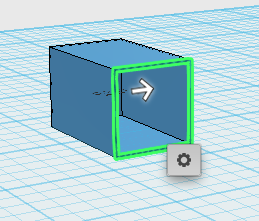
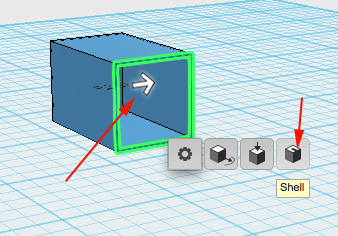
- You can select a face. Select the primitive then roll over the face you want to edit. When the face is highlighted click on it to accept the selection. Then click on the gear in the box:
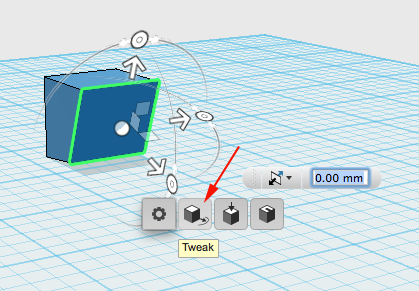
- Modifications you can make to the face are:
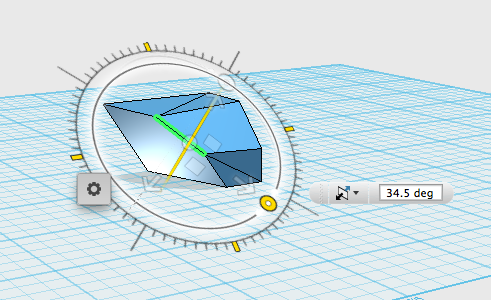
- Tweak:
-
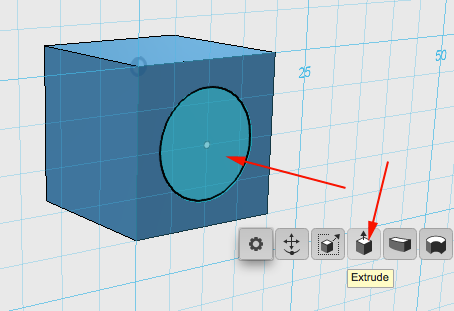
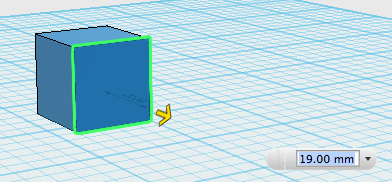
Push/Pull
- Shell
- Tweak:
- When editing, you can always enter exact measurements or use the mouse to manipulate the form.
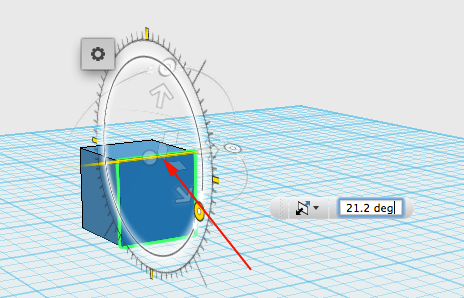
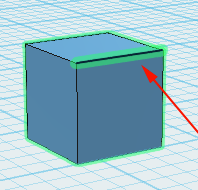
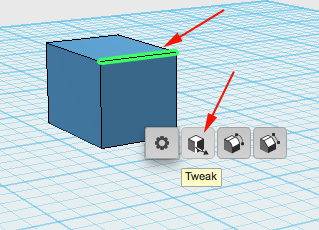
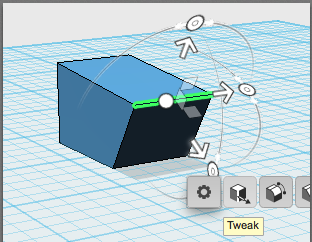
- Design provides selection specific editing options for entire form, face and edge. To select an edge, rollover it until it highlights, then click
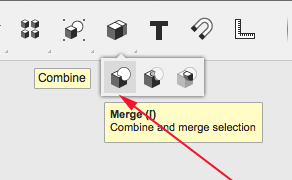
- Clicking on the gear will bring up the three options:
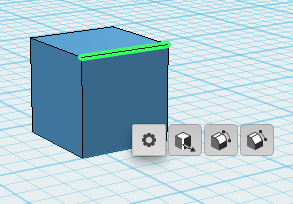
- Tweak
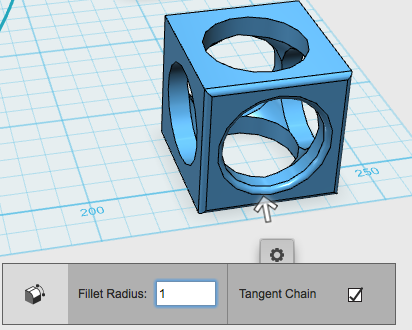
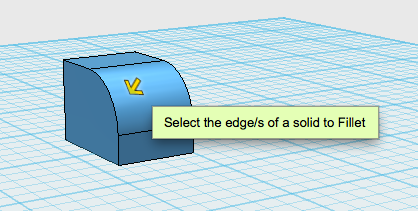
- Fillet
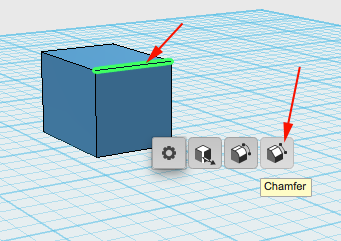
- Chamfer
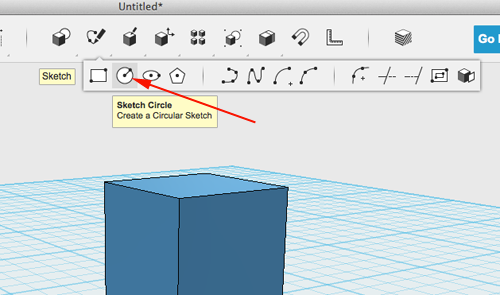
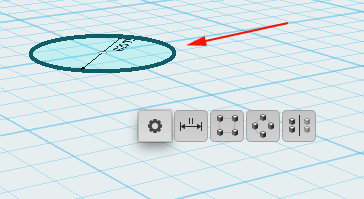
- Select the circle sketch
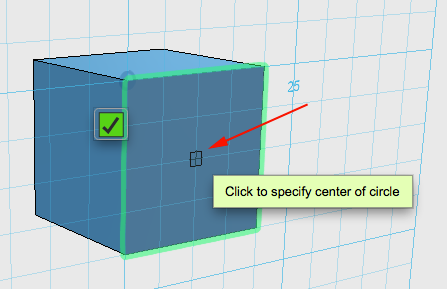
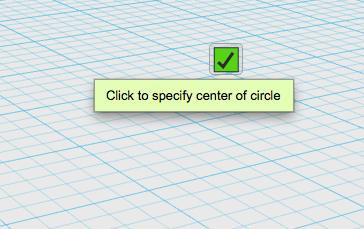
- Click on the plane then select the center point
- Drag from center point
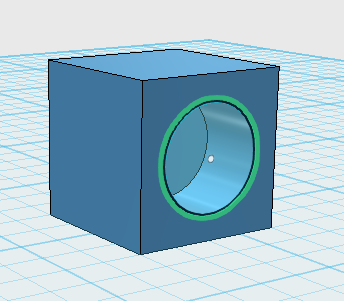
- Selecting the interior of a 2D circle provides the following options:
- Selecting the perimeter of a 2D curve provides the following options:
- Click on the workplane to select it
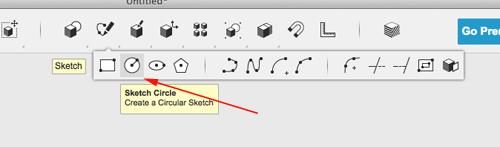
- Select the circle sketch tool
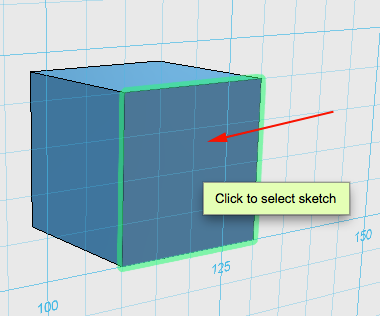
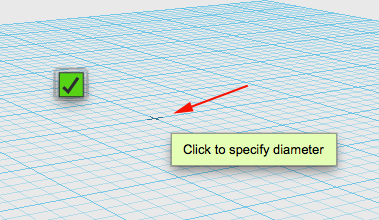
- Click on the Sketch Plane to select it:
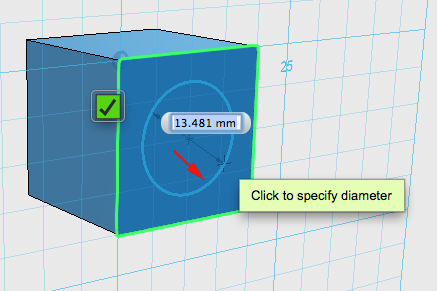
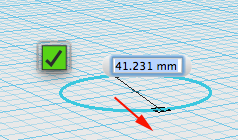
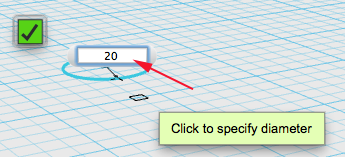
- Specify the diameter by dragging or typing a value
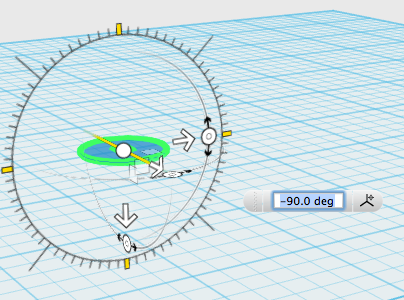
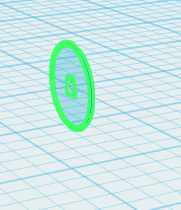
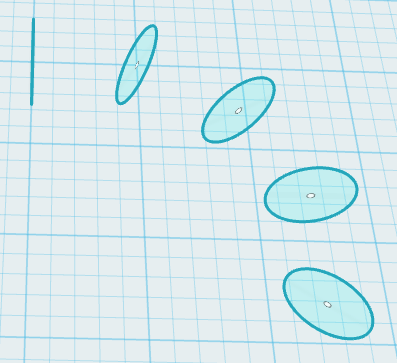
- Select the sketch and click on the Move icon. Rotate the sketch 90°
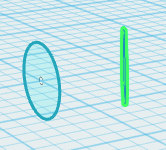
- Seelct the sketch, copy, paste, move forward and rotate
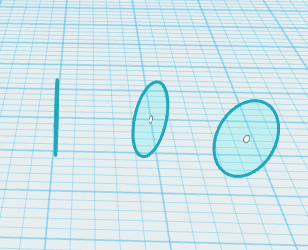
- Copy, paste, move and roate again
- Once again
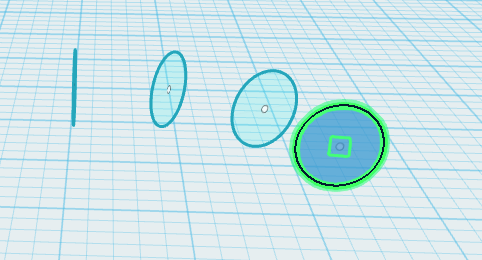
- One more time:
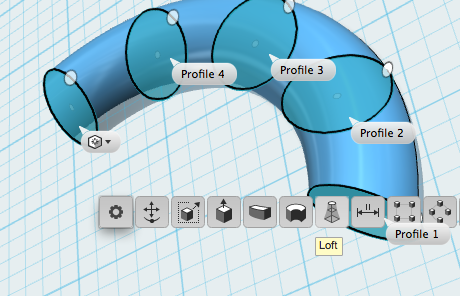
- Seelct all the sketched and move the cursor over the widget
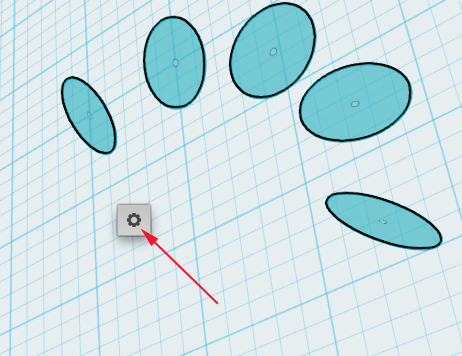
- Select Loft:,br />
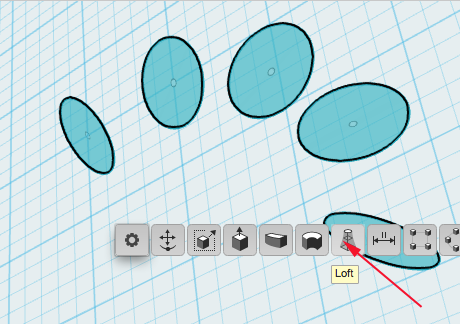
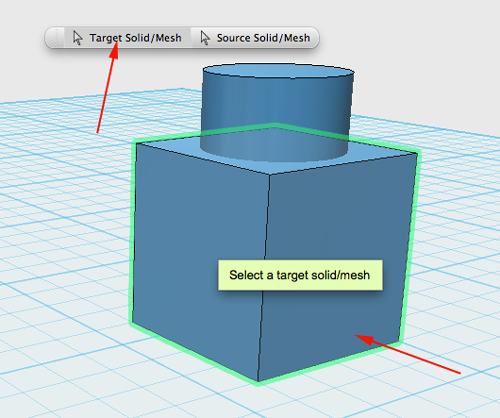
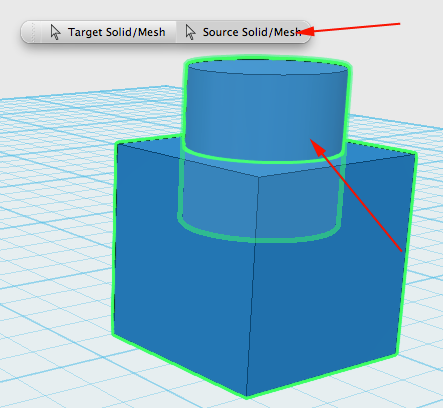
- Make sure you are creating a new solid
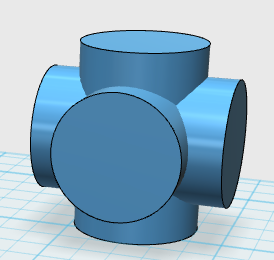
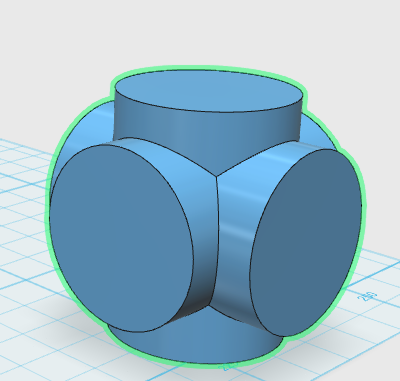
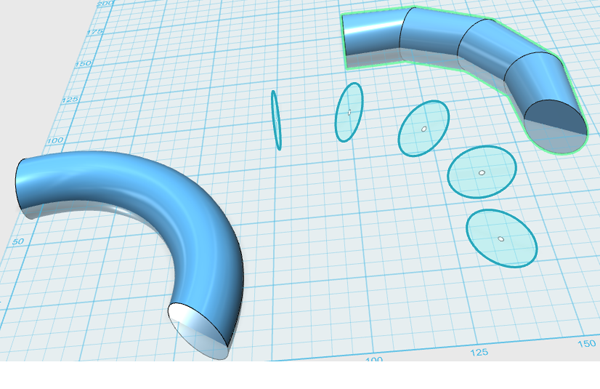
- This is the difference if you loft all at once or section by section:
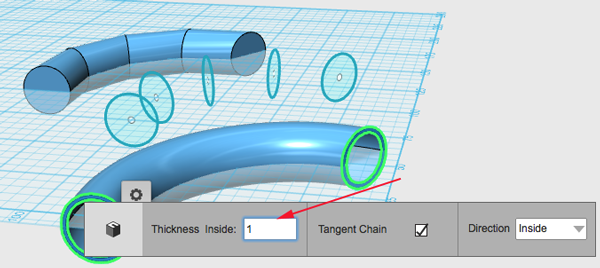
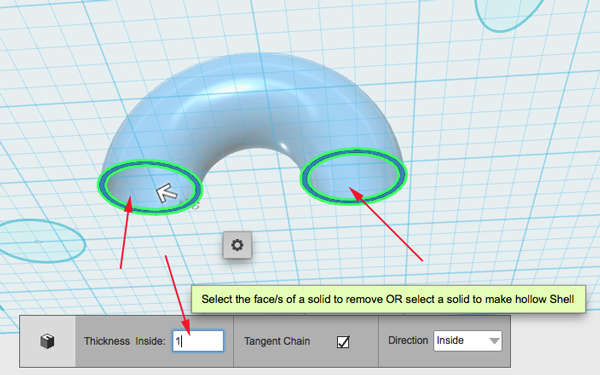
- Select both ends and then click on shell
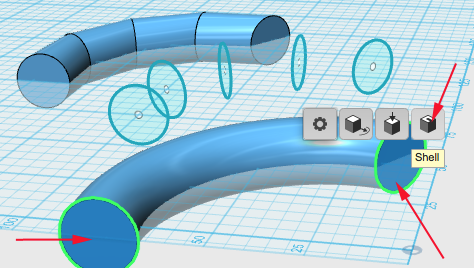
- Specify the amount to shell
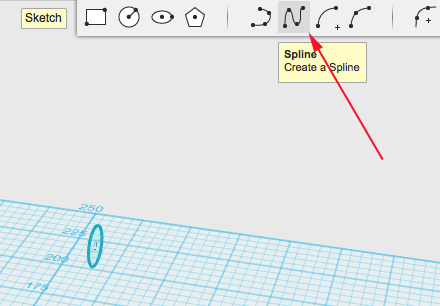
- Create another 90° 2D sketch and then select the spline tool
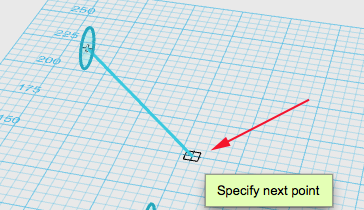
- Click to specify the Sketch Plane, then click on the center point of the rotated circle, the click and pull to create a smooth curve. Click to end or press ENTER:
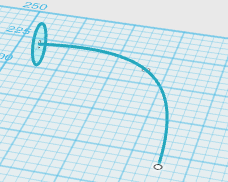
- You can adjust the curve by moving the sketch points:
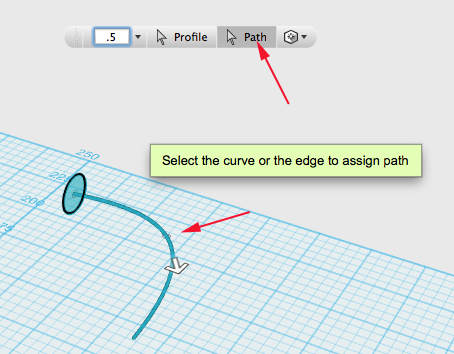
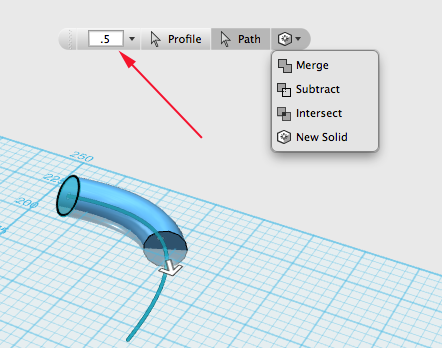
- Click on the sketch, select Sweep, make the polyline the path. Here you can see sweeping by 50%:
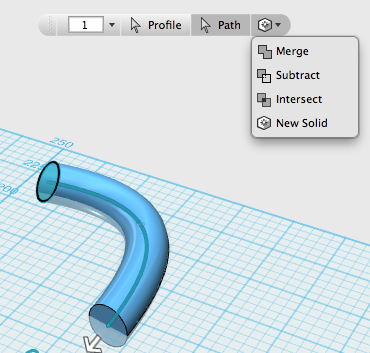
- Here is the full sweep:
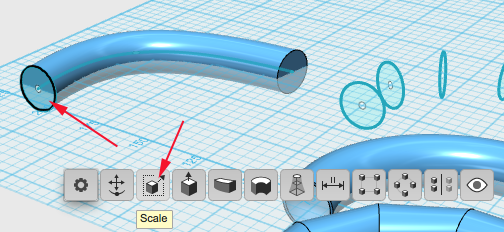
- Unfortunately you cannot shell a sweep, but there is a way to acheive a similar effect:
-
Click on the sketch and select scale
- Specify the scale amount:
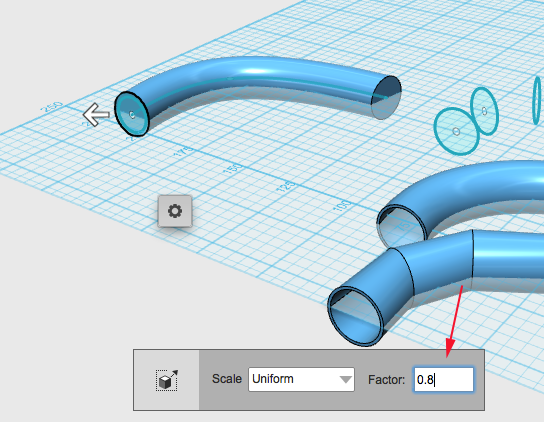
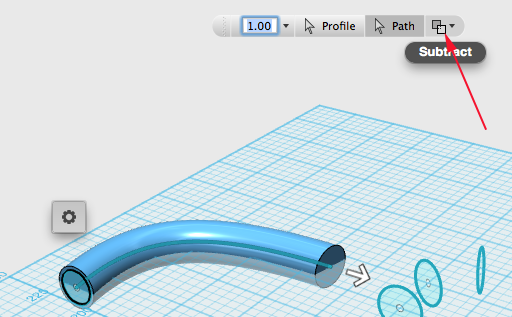
- Sweep the smaller sketch and select subtract:
-
Click on the sketch and select scale
- Create another 2D sketch, then select the polyline tool
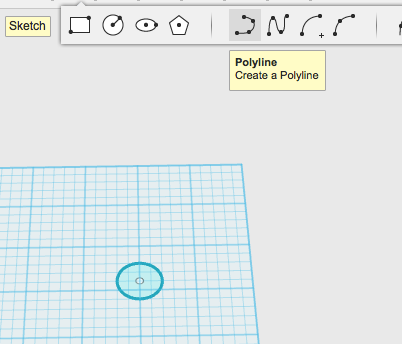
- Click the Sketch Plane then click two points. Press ENTER to end the line after clicking

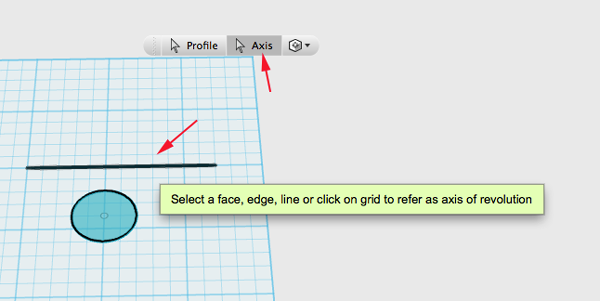
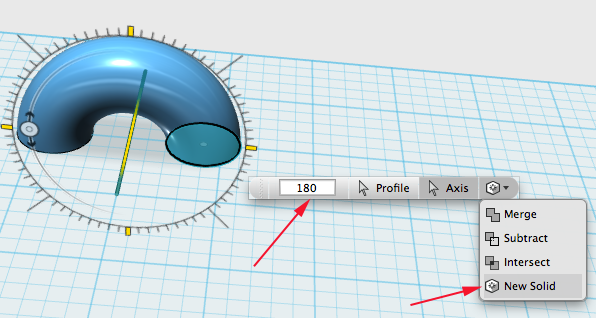
- Select the 2D sketch then select Revolve. Choose tha line as the axis:
- Specify the revolution and make sure it is a solid:
- Shell the revolved sketch:
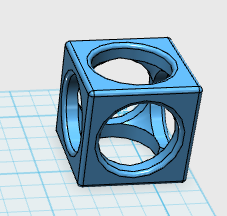
- Experiment.
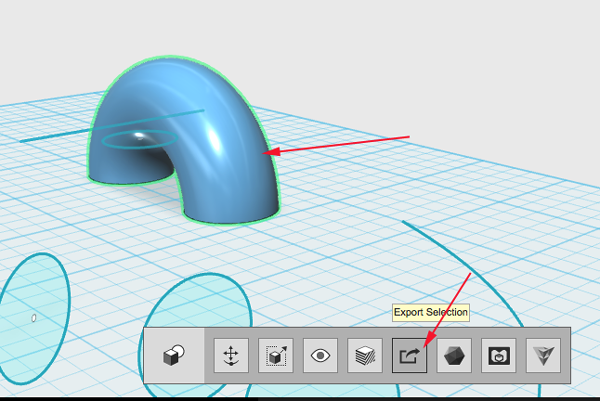
- Select a part and Export as an stl