Tutorial
Aligning in Sketchup
What is it?
Aligning along an axis in SketchUp is simple. When moving a part along an axis.What's the tutorial?
Aligning along an axis
- Open SketchUp
- Create an entity.
- Press spacebar to choose the Select tool
-
Triple click on the entity.
- CTRL+ click and select Make Group.
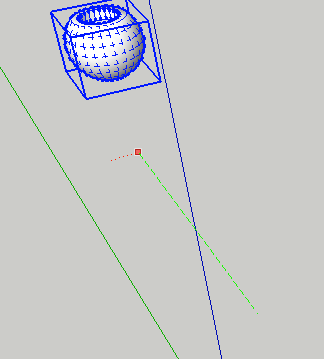
- Select the Move tool (M) and click on a point, then
press an arrow key to lock the axis of motion. Left arrow = green
axis, up = blue and right = red:
Using a plugin
The Align Tool plugin was created by Didier Bur of SketchUcation.com. This plugin will help you with align objects and components precisely.- Navigate to the Extension Warehouse
- Search for Align. Select Align by D.Bur and install it.
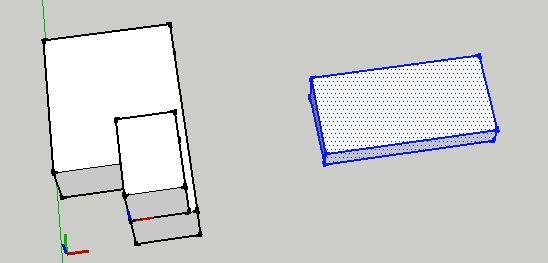
- Create a few entities and make some of them groups.
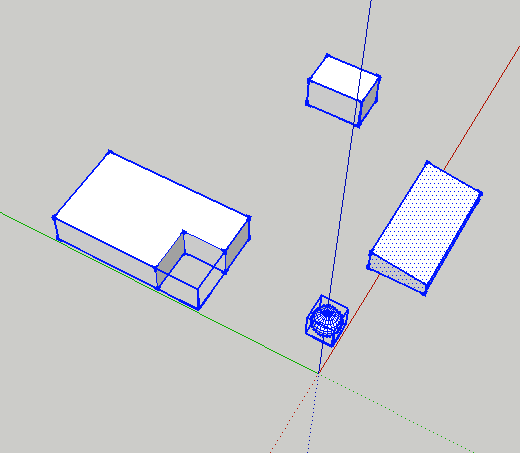
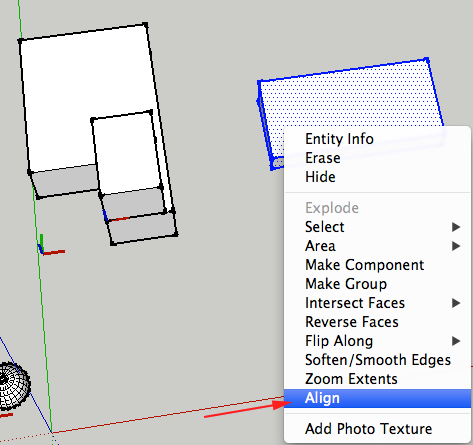
- CTRL+click on a group and select Align Group/Component from the Context Menu:

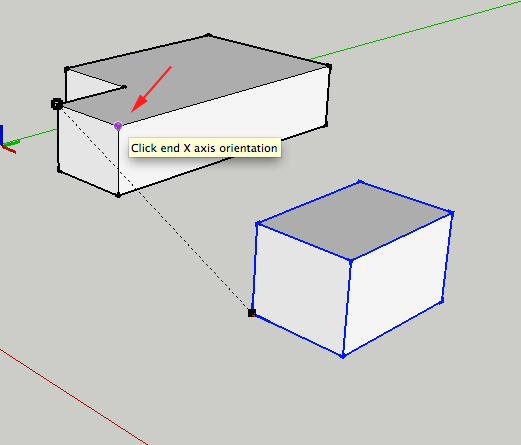
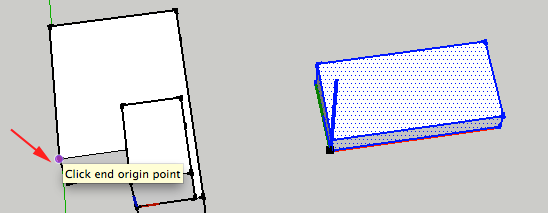
- When aligning groups an components you only have to click the three destination points:
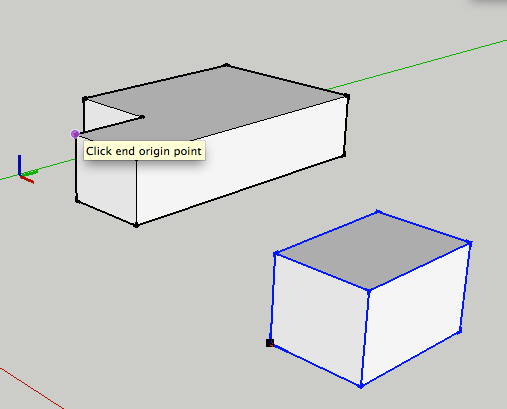
- Click end origin point:
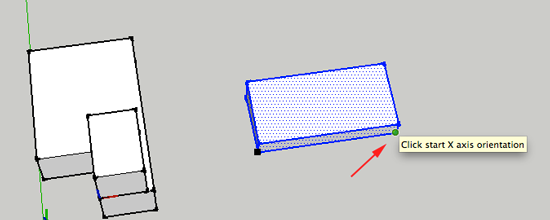
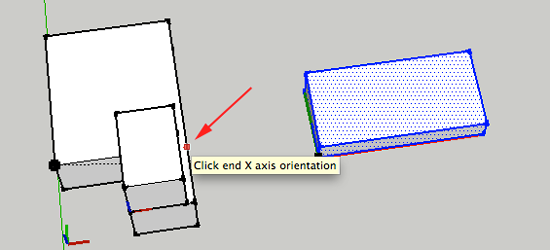
- Click end X axis orientation:
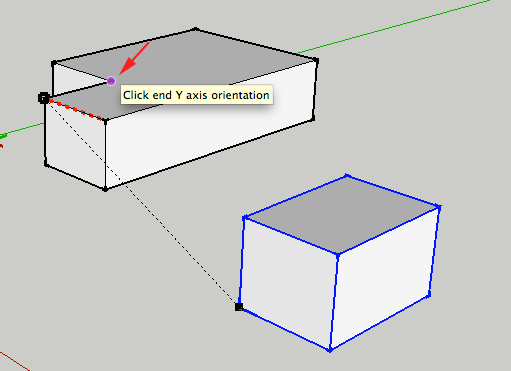
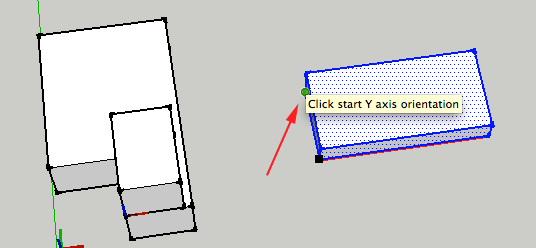
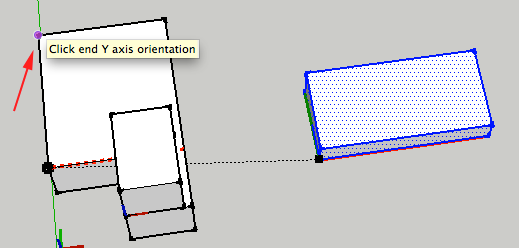
- Click end Y axis orientation:
- Click end origin point:
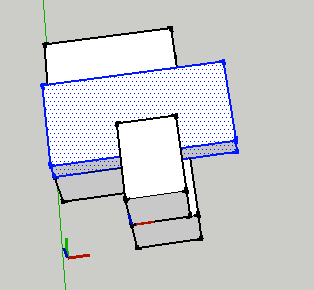
- After the third click, you will see a dialog box that will ask if you want Duplicate this group .
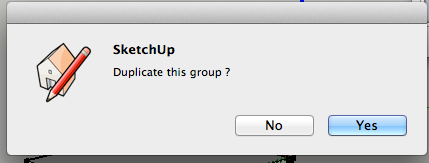
- If you just want to move the selected group or component, select No, otherwise select Yes:
- To move an entity that is not a group you need to make 6 clicks. Press spacebar to select the Select tool. Triple click on the entity to select it:
- Make sure you orient your view so that you can click on all six points

- CTRL+click on the entity and select Align from the Context Menu:
- Click on the start origin point

- Click on the start X axis orientation
- Click on the start Y axis orientation
- Click on the end X axis orientation
- Click on the end X axis orientation
- Click on the end Y axis orientation
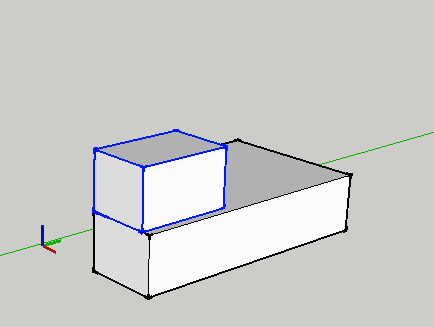
- After you click on the last point, the entity will reposition itself:
Now what?
- Move things around!
