Tutorial
Components in Sketchup
What is it?
Components are useful for creating reusable models to be placed within other models. Components are like classes and you can create multiple instances of them. When you edit the component, all instances of the component is updated.The 3D Warehouse is an online collection of 3D models or components. Downloading components using the Components Browser SketchUp's Component Browser allows you to download models in the 3D Warehouse. To search and download models using the Component Browser:
What's the tutorial?
Making a Robot Chasis
Creating the base
- You're going to create the Robot Chassis from Tero and Kimmo Karvinen's Make a Mind-Controlled Arduino Robot
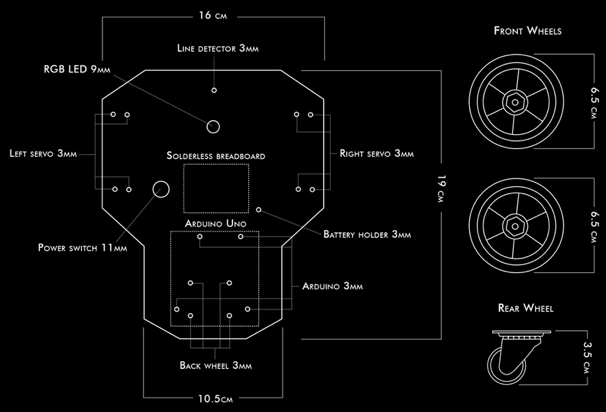
© O'Reilly Media / Make - Open SketchUp.
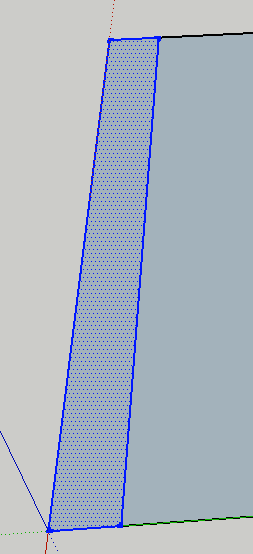
- Using the Rect tool (R) create the base of the chassis. Drag a rect from the origin and type 140mm, 190mm (I'm using 140 instead of 160 so that the chassis will fit on the Replicator's bed):
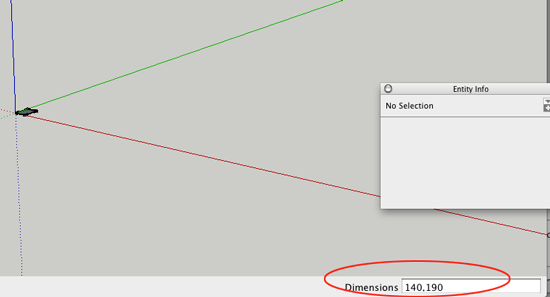
- Press spacebar to select the Select tool and CTRL+click on the rectangle and choose Zoom Extents. Then orbit and pan to get the proper view.
- Drag another rectangle from origin. This time type 190,35/2 and press ENTER/RETURN. Where did 35/2 come from? (140-105)/2:
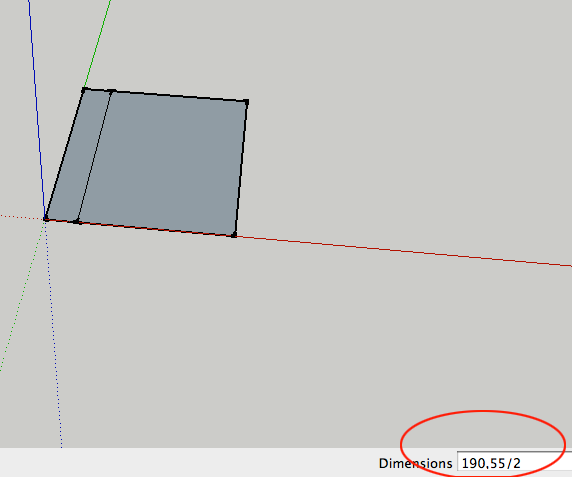
- Press spacebar to select the Select tool and click on the rectangle
- Select the Move tool (M) andALT/OPTION +click and drag the duplicated selection to the other side of the larger rectangle

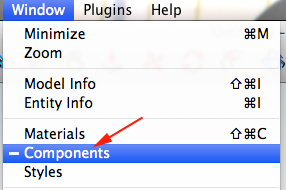
- Open the Components palette by selecting Window>Components
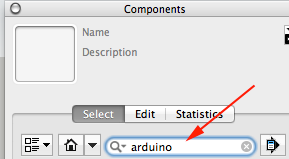
- Type arduino in the search box and press ENTER/RETURN to search for a component associated with that term:
- Click on the Arduino thumbnail image to bring the model into your sketch
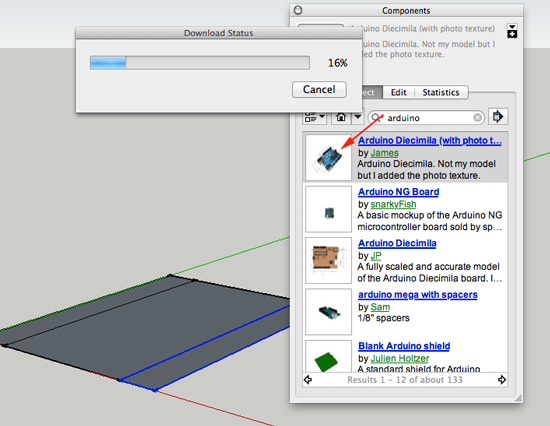
- Place the model near your base
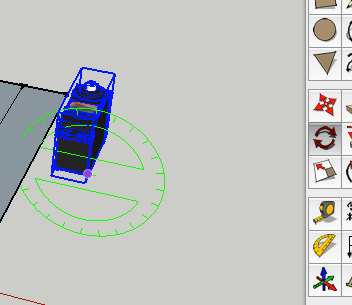
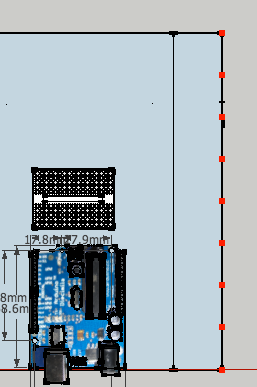
- Select the Rotate tool andset your pivot point:
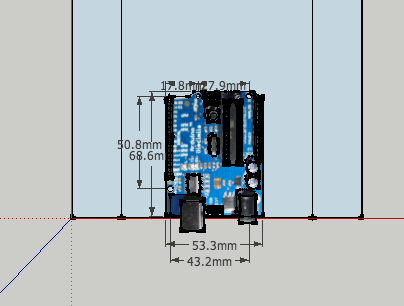
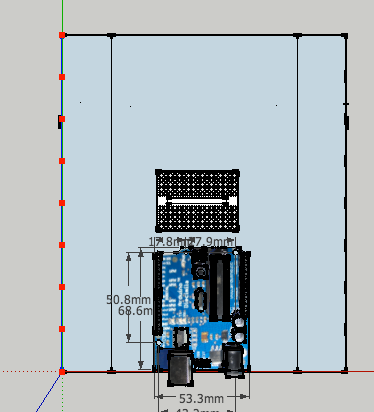
- Type 90 and press ENTER/RETURN to rotate the Arduino by 90°

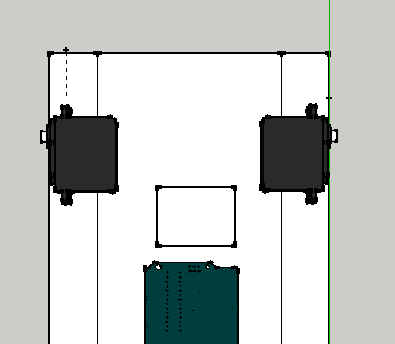
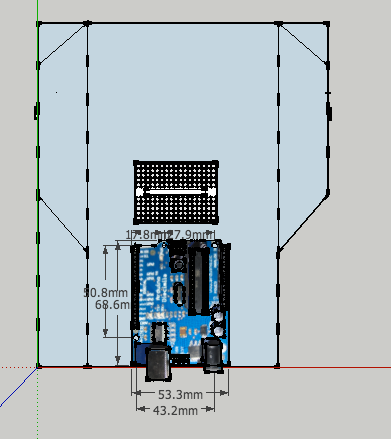
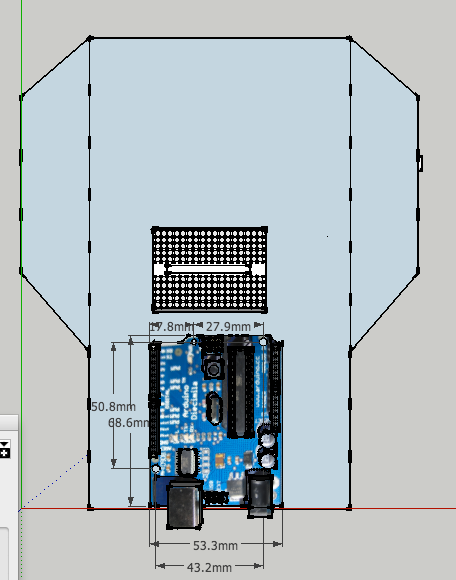
- Select Top View SHIFT+2/COMMAND+1 and adjust the position of the Arduino
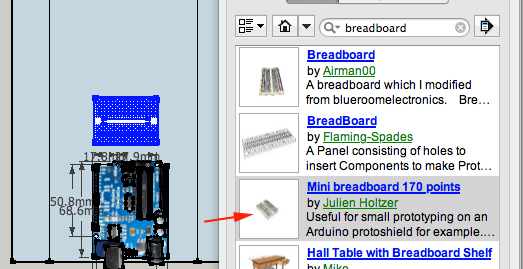
- Type breadboard in the Compoents palette and press ENTER/RETURN
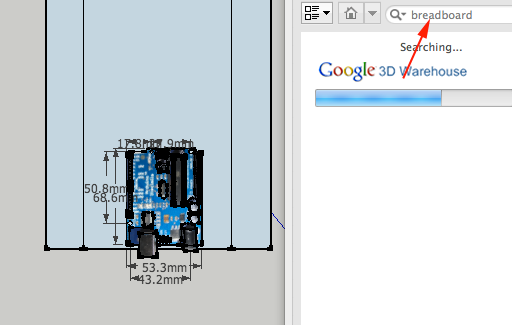
- Select the Mini Breadboard 170 points and place the breadboard on the base:
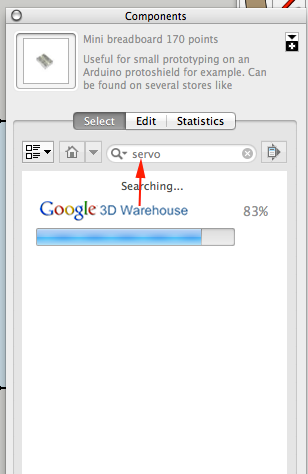
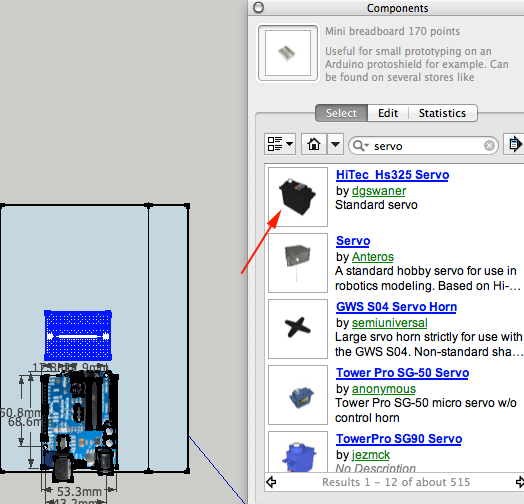
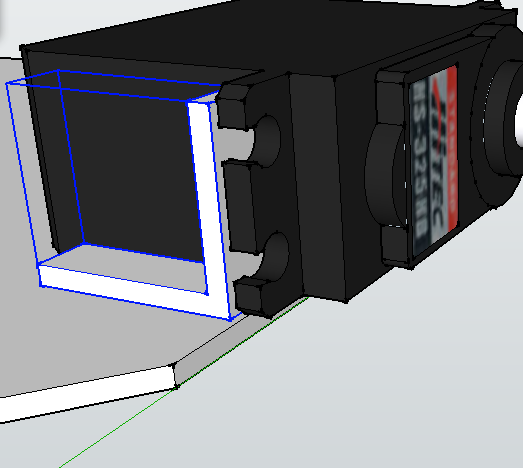
- Search for Servo in the Component Window
- Select the HITec Hs325 Servo:
- Select the servo
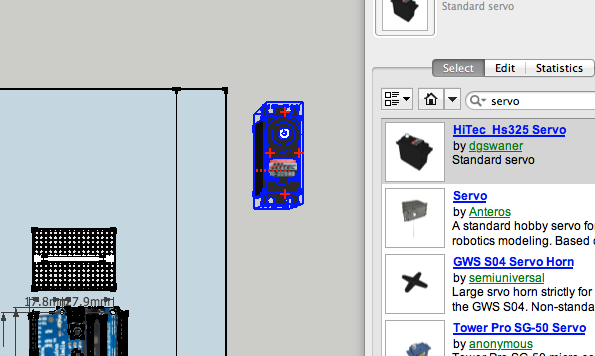
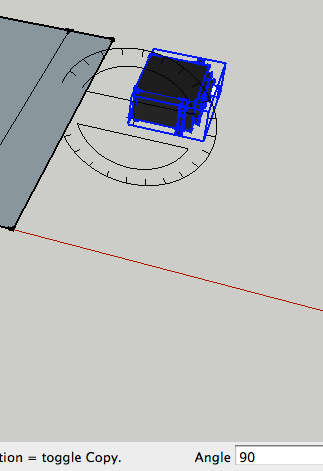
- Select the Rotate tool and line up the green protractor with the servo, rotate the servo 90°:
- Type 90° and press ENTER/RETURN
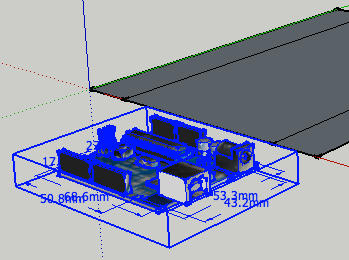
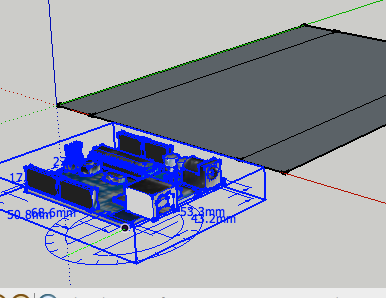
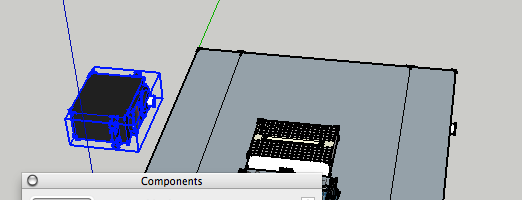
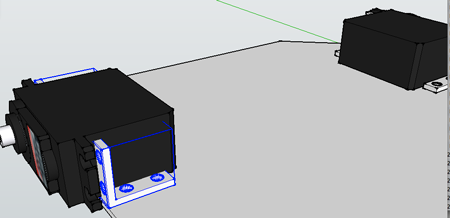
- Move servo into place:
- Select the Move tool (M), hold ALT/OPTION and move a duplicated servo to the other side of the chassis
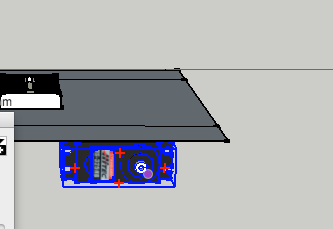
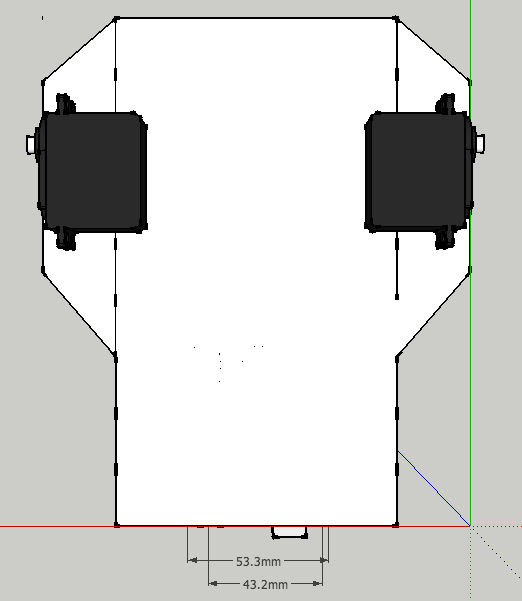
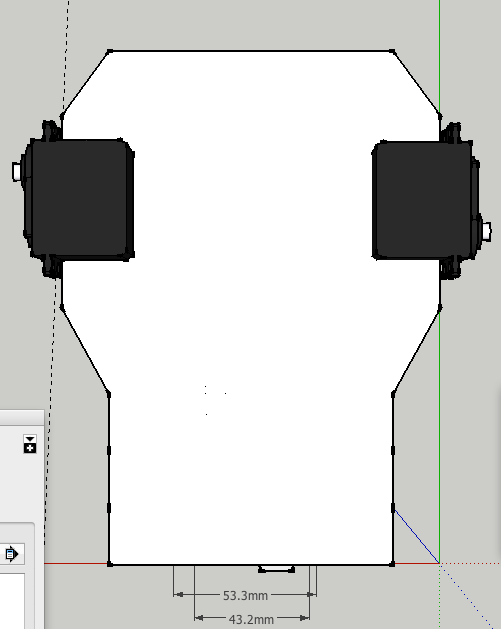
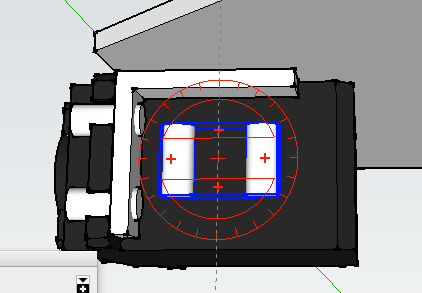
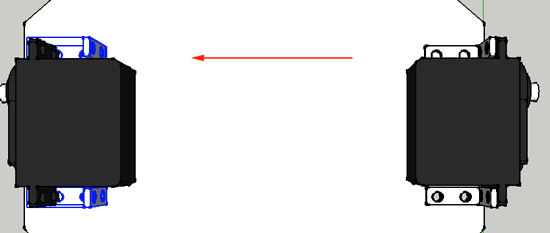
- Select the Rotate tool and line up the blue protractor with the servo, rotate the servo 180°:
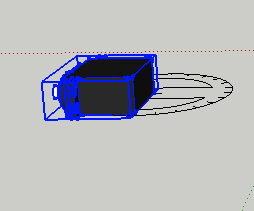
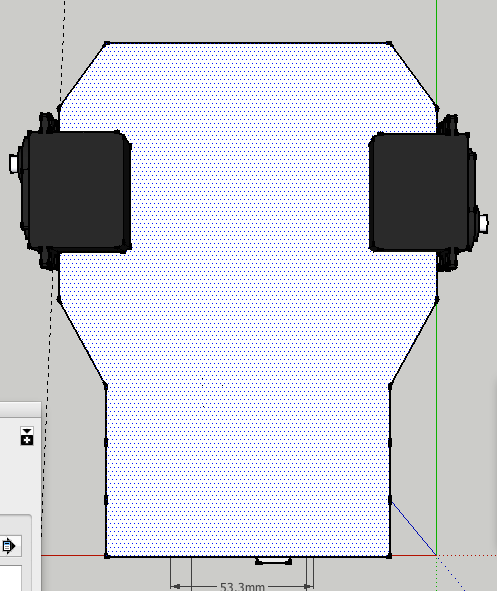
- Change the Camera View to bottom and line up servos. You may also need to flip the base and raise the Arduino and the breadboard if you can see them from this angle:
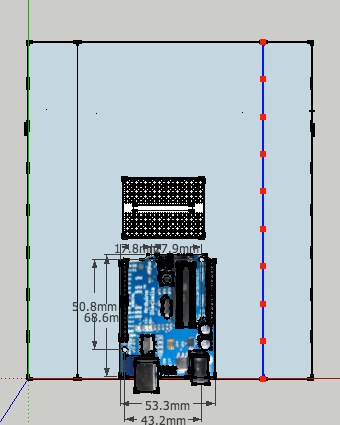
- Change the Camera View to top and CTRL+click on the outer right line and select Divide from the Context Menu.

- Move the cursor in until you have seven inner segments:
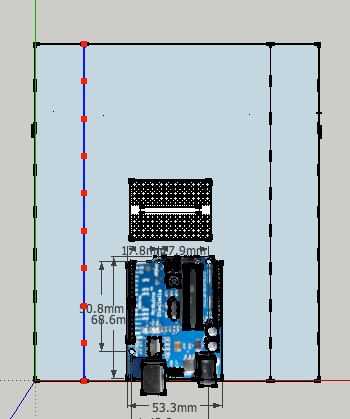
- Repeat the process for the left outer line:
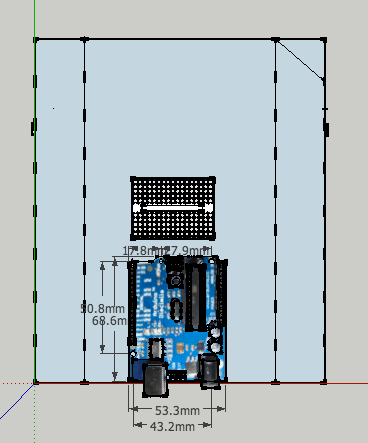
- Divide the inner right line into eight segments:
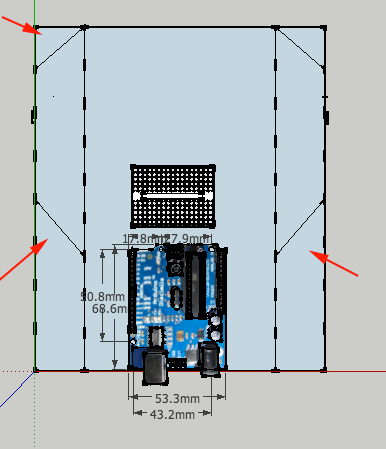
- Divide the inner left line into eight segments:
- Select the Line tool (L) and connect endpoints:
- Select the Eraser tool (E) and erase segments:
- Change the view to the Bottom and delete the inner segments:
- Select the Select tool (spacebar) and select the base.Select the Push/Pull tool (p) and extrude, type 2 and press ENTER/RETURN to extrude the base to 2mm:
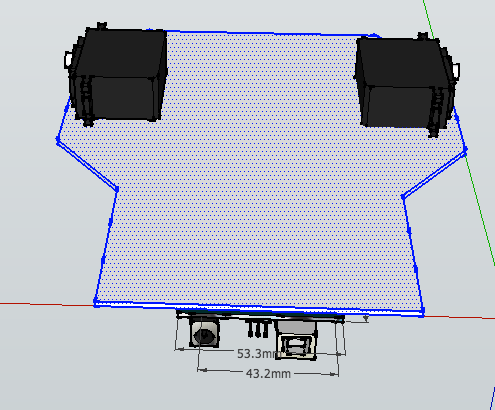
- Select the Orbit tool (O) and orbit slightly. Select the Select tool (spacebar) and triple click on the base:
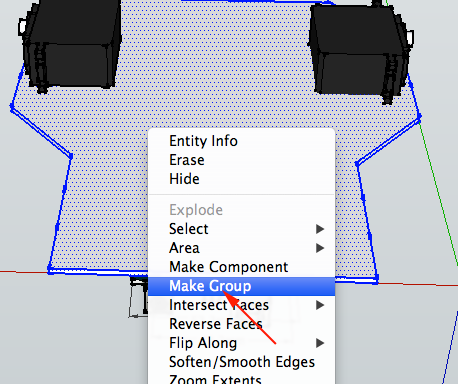
- CTRL+click and select Make Group from the Context Menu
Creating L-Brackets
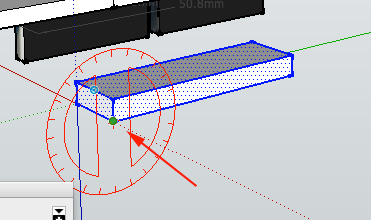
- Select the Rectangle tool (R) and drag a rectangle on the ground plane. Type 6,18 and press ENTER/RETURN
:

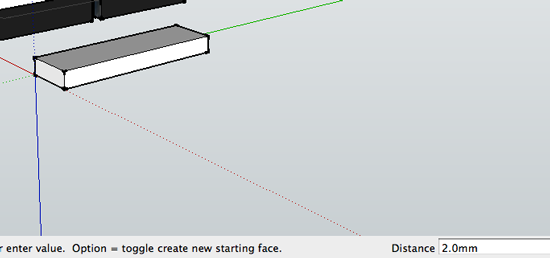
- Select the Push/Pull tool (p) and extrude the interior of the rectangle. Type 2 and press ENTER/RETURN
:
- Select the Select tool (spacebar) and triple click the cube to select it.
:

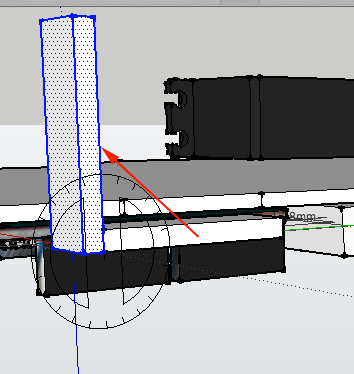
- Select the Rotate tool and when the protractor turns red click on the pivot point and drag 90°.
:
- Hold ALT/OPTION and drag the duplicated cube in the direction on 90. Type 90 and press ENTER/RETURN
:
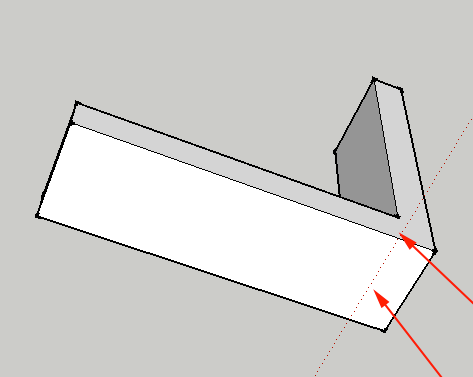
- Select the Eraser tool (E) and erase the extra lines:
- Select the Select tool (spacebar) and triple click the bracket to select it.
:
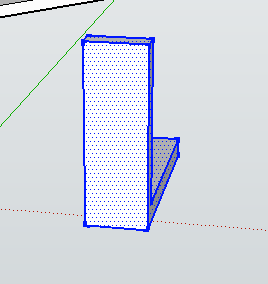
- Select the Rotate tool and rotate the bracket
:
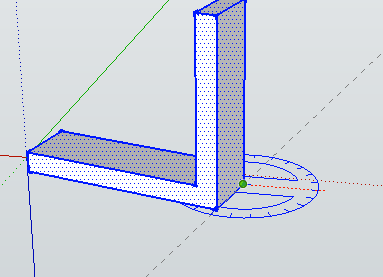
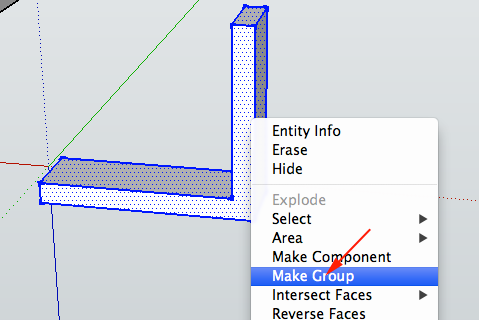
- CTRL+click on the selected bracket and choose Make Group from the Context Menu:
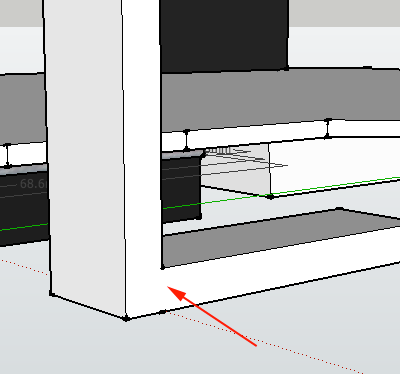
- Select the Move tool (M) and move the bracket into place
:
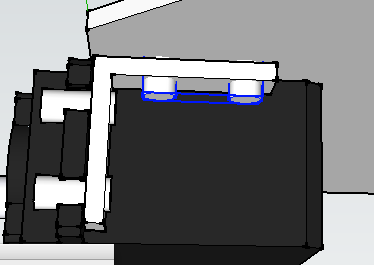
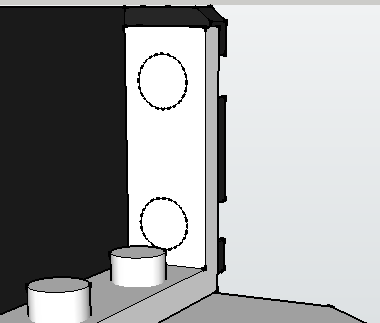
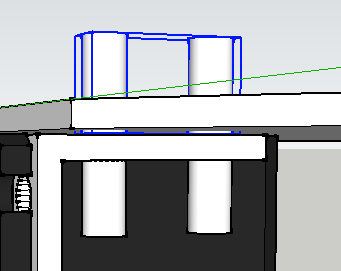
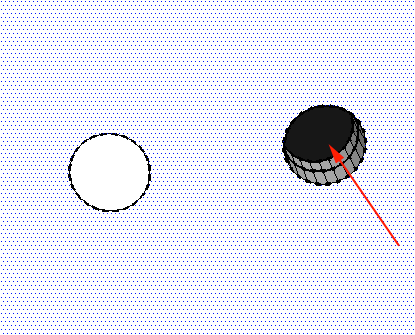
- Select the Circle tool (C) and create cylinders inside the servo holes. Use the Push/Pull tool (P) to extrude them and transform each cylinder into a group
:
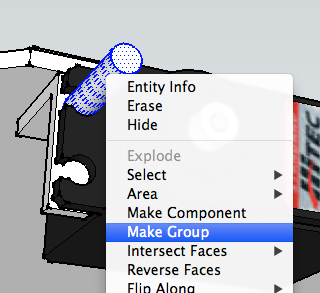
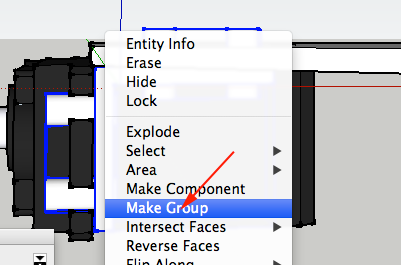
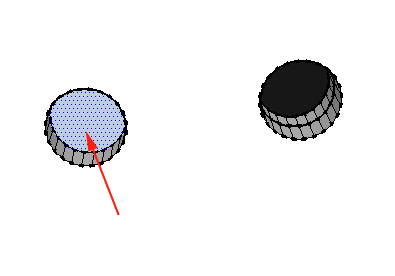
- Select the Select tool (spacebar) and select both cylinders. CTRL+click and select Make Group from the Context Menu
:
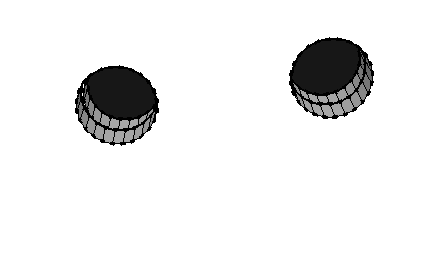
- Select the Move tool (M) and move a duplicated group of cylinders
:
- Select the Rotate tool and rotate the duped group of cylinders
:
- Select the Move tool (M) and adjust the placement of the a duplicated group of cylinders
:
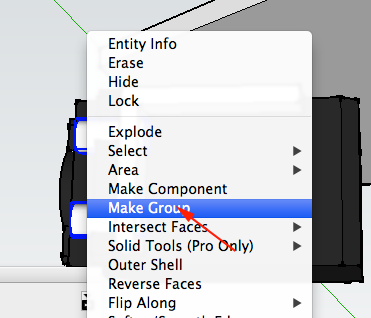
- Select the Select tool (spacebar) and select the bracket and both groups of cylinders. CTRL+click and select Make Group from the Context Menu
:
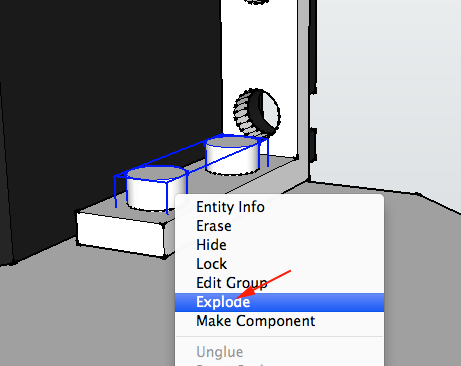
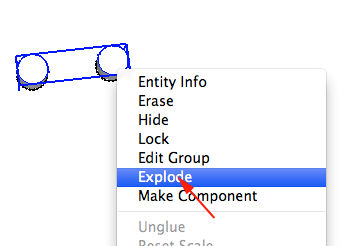
- Select the Move tool (M) and move a duplicated version of the complete bracket off to the side.
- CTRL+click on the bracket and select Explode explode the group. You want to break up the group so that you can select the bracket faces and one group of cylinders:
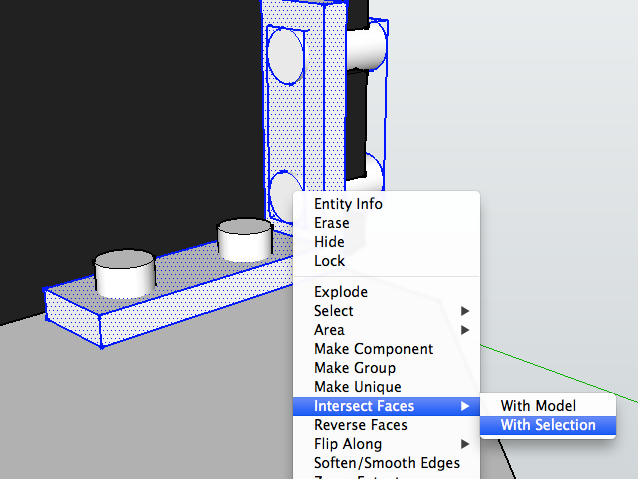
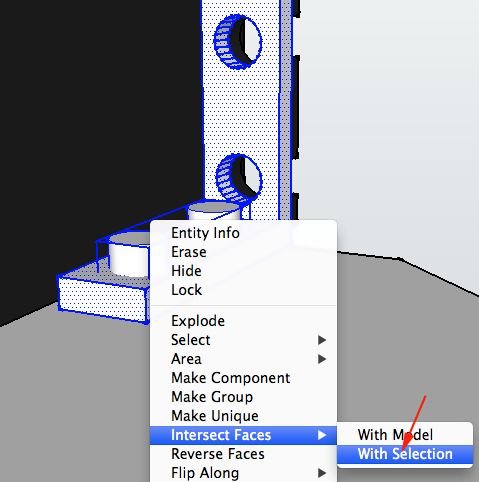
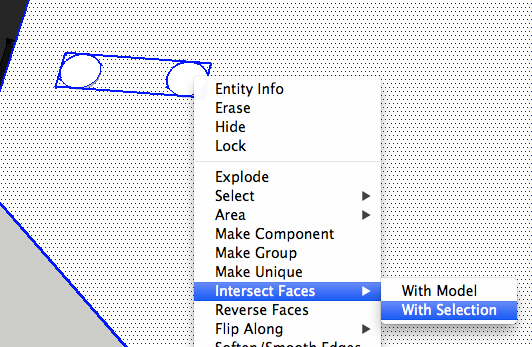
- With the bracket and cylinders selected, CTRL+click on the cylinders and select Intersect Faces>With Selection from the Context Menu
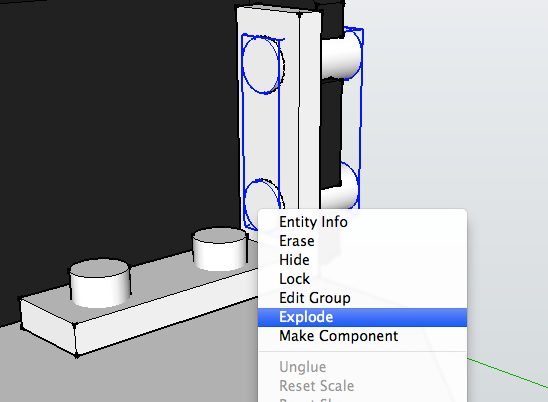
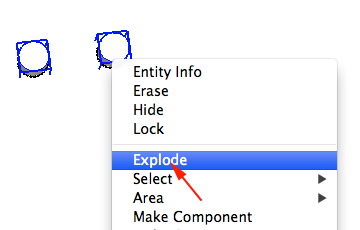
- CTRL+click on the cylinders and select Explode from the Context Menu
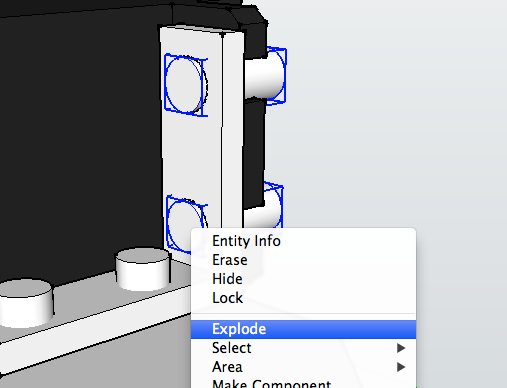
- CTRL+click on each cylinder and select Explode again from the Context Menu
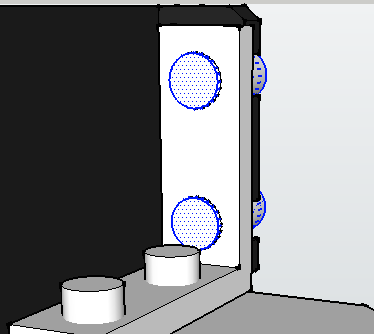
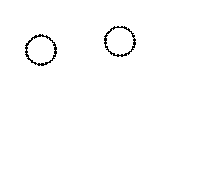
- Press DELETE to erase much of the cylinders
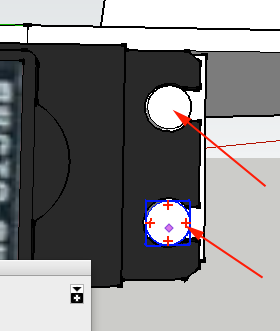
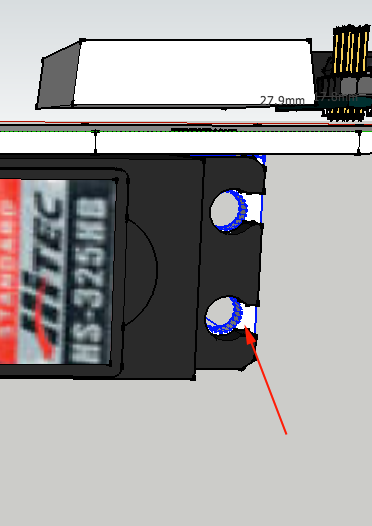
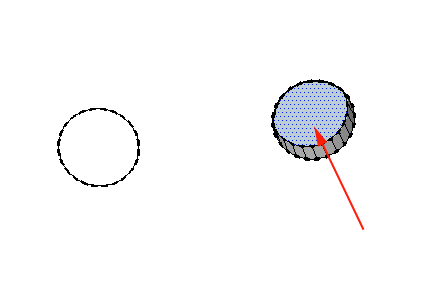
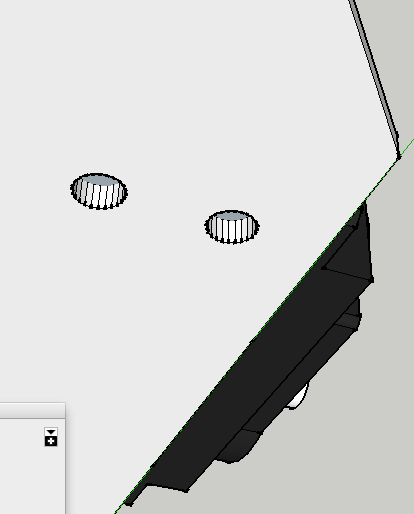
- Select the Push/Pull tool (P) and push in the interior of the circle until you have a hole:
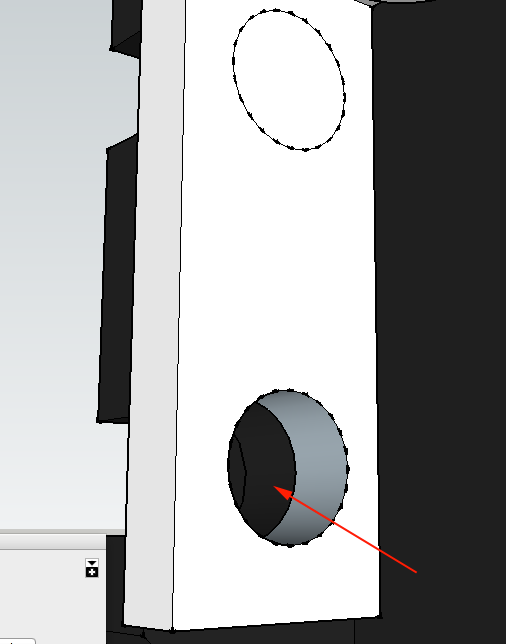
- Repeat the process for the other hole.
- Repeat the hole making process for other group of cylinders

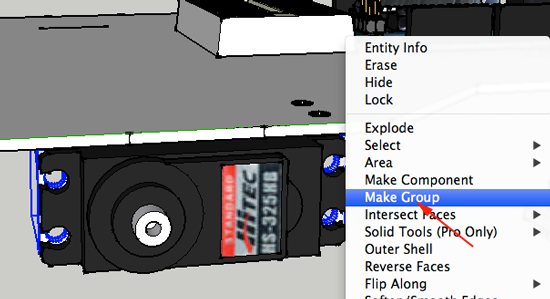
- Triple click on the bracket and make it a group
- Select the Move tool (M) ALT/OPTION click on the bracket a move a duplicated bracket to the other side of the servo.
Select both brackets and CTRL+click and select Make Group from Context Menu
- Select the Move tool (M) ALT/OPTION click on the brackets and move the duplicated group to the other side of the base. Rotate as necessary
- Rotate and align the brackets up with the base and the servos
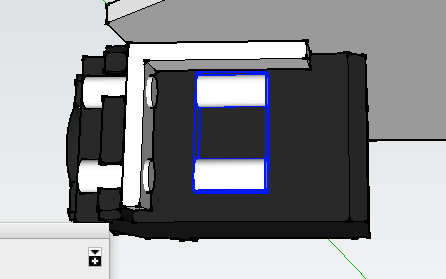
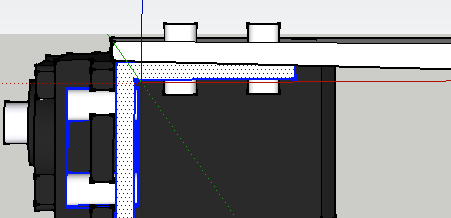
- Select the second group of cylinders. Select the Move tool (M) and move a duplicated set of cylinders through the base
- Repeat the hole making process for other third group of cylinders and base.
Explode the base if it is a group. - With the Select tool (spacebar select the base and the group of cylinders. CTRL+click on the cylinders and choose
Intersect faces >With Selection from the
Context Menu
- CTRL+click on the cylinders and choose Explode from the Context Menu
- CTRL+click on the cylinders and choose Explode from the Context Menu
- Explode one last time the break the cylinders up into two entities.
- Press DELETE to delete most of the the cylinders:
- With the Push/Pull tool (P) push the interior of the circle through the base until there is a hole
- Push other circle through to make a hole
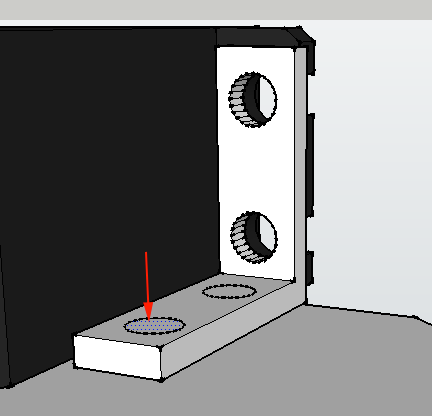
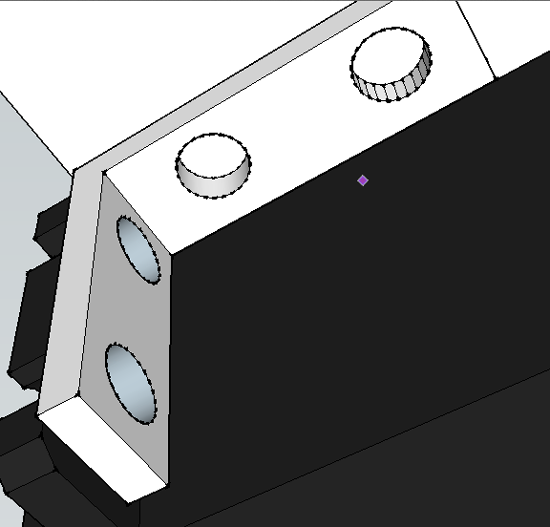
- Once you have your l-bracket holes
continue creating holes for the other three brackets in the base.
Creating holes based on the Arduino
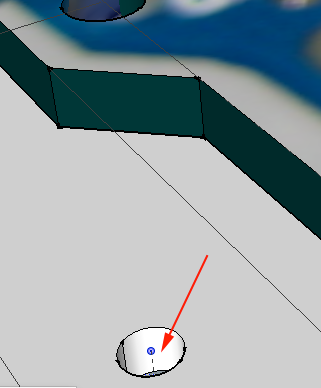
- Select the Arduino Component. Choose the Move tool (M) and raise the component up off the base.
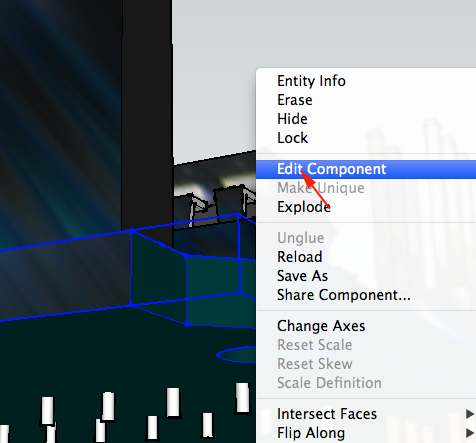
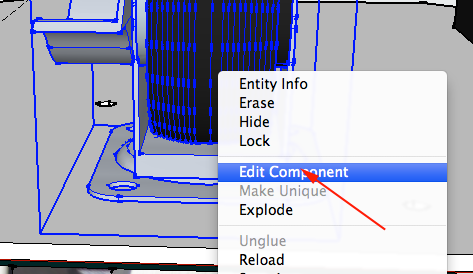
- CTRL+click on the Arduino Component and select Edit Component from the Context Menu
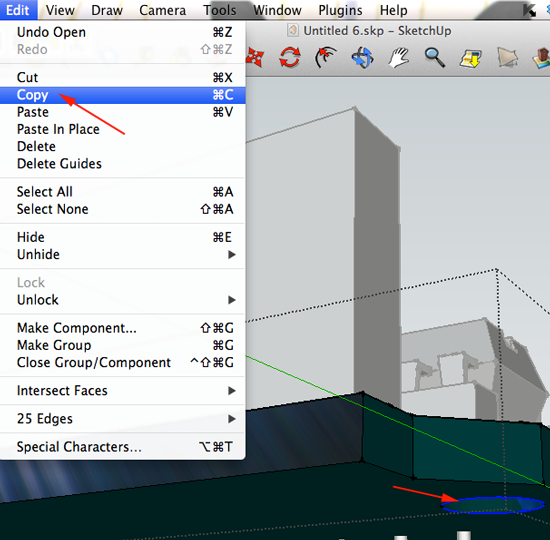
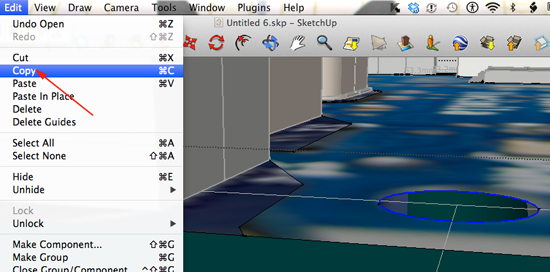
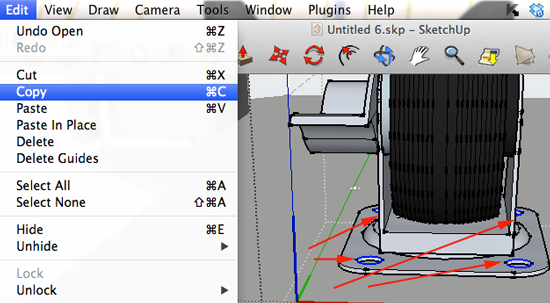
- Select a circle and choose File>Copy
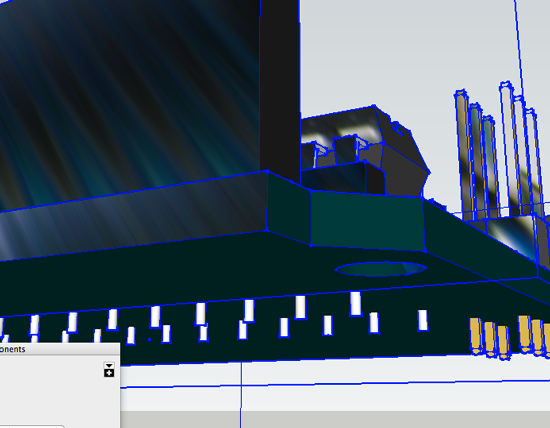
- Click outside the component to get out of Edit
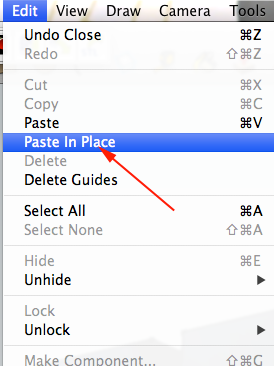
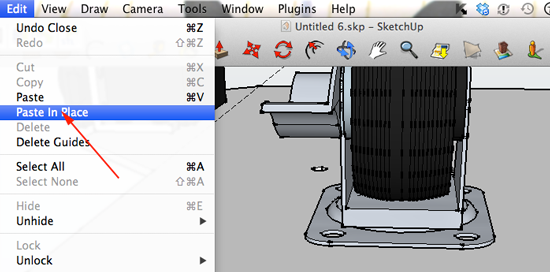
- Select File>Paste in Place to paste the circle that you previously copied in place:
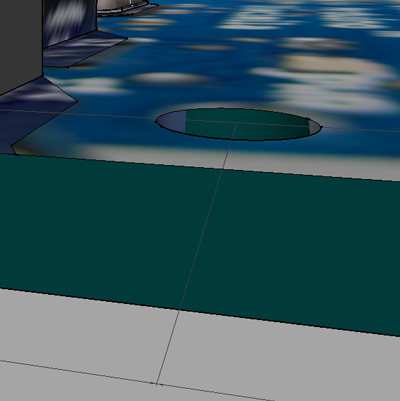
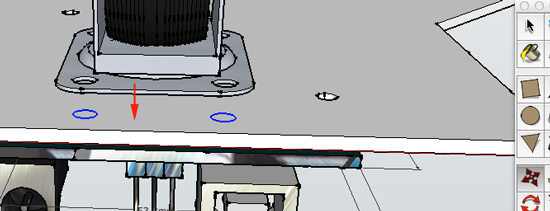
- Select Move tool (M) and move the circle down to the surface of the base
- Select Select tool (spacebar) and select the interior of the circle:
- Select Push/Pull tool (P) and move the interior down until you have a hole:
- Repeat the process for the other holes:
Select the base of the Arduino and CTRL+click and select Edit Component from the Context Menu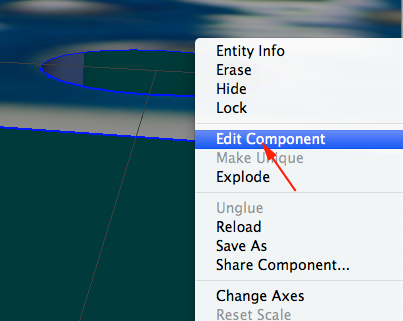
- Select and copy a circle:
- Click outside the component
- Choose File>Paste in Place. Select the Move tool (M) and move the circle to the base:
- Select the interior, the Push/Pull tool (P) and make the hole.
- Repeat the process for all holes in the Arduino.
- With the Move tool (M) move the Arduino back down closer to the base.
Adding a Castor Wheel
- Search for Castor in 3D Warehouse
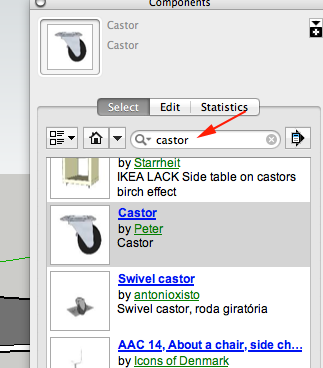
- Place castor wheel:
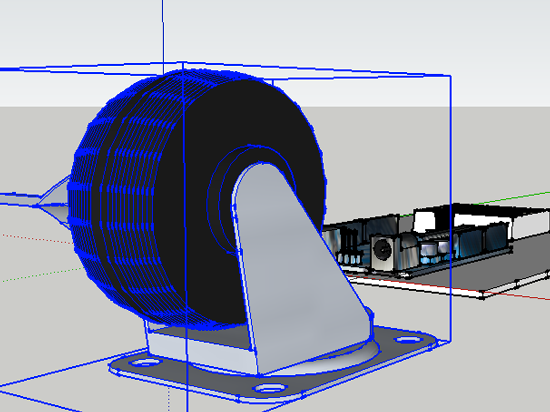
- Rotate and scale the wheel. The height should be 35mm.
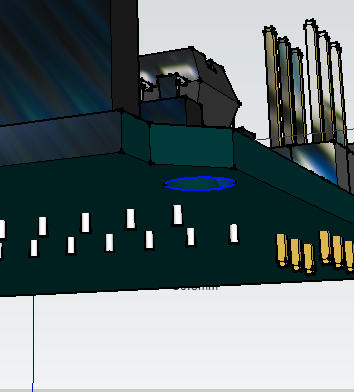
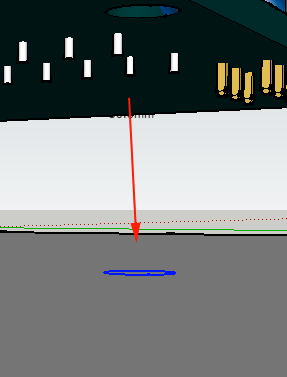
- Center castor wheel on bottom of base
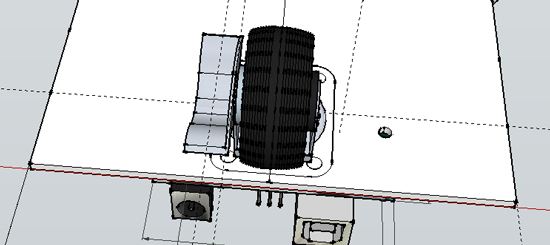
- CTRL+click on the wheel and select Edit component from Context Menu:
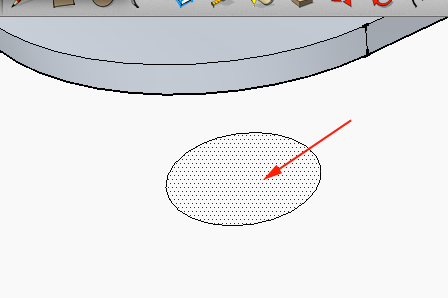
- Select the circles and choose File>Copy
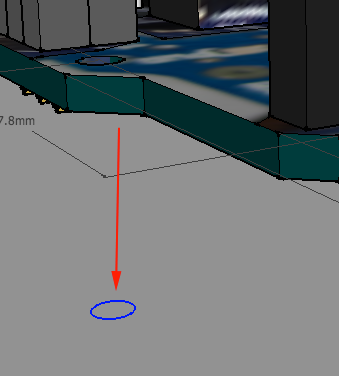
- Click outside of the edit box to exit Edit mode and select File> Paste in Place
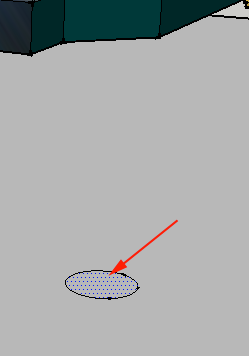
- With the Move tool (M) Move the circles on to the base:
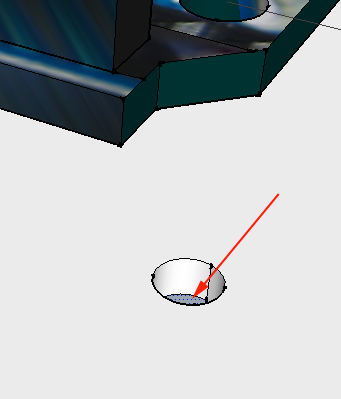
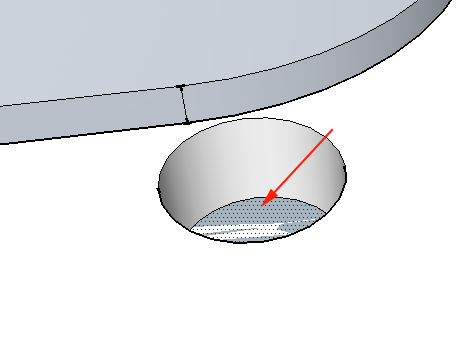
- Select the interior of the circle. Choose the Push/Pull (P) tool and push down until you have a hole
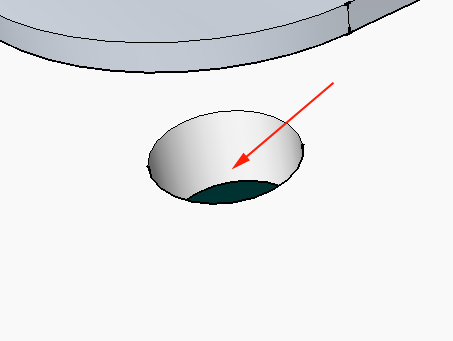
- Continue the process for the three other holes.
Now what?
- Pimp your ride.
